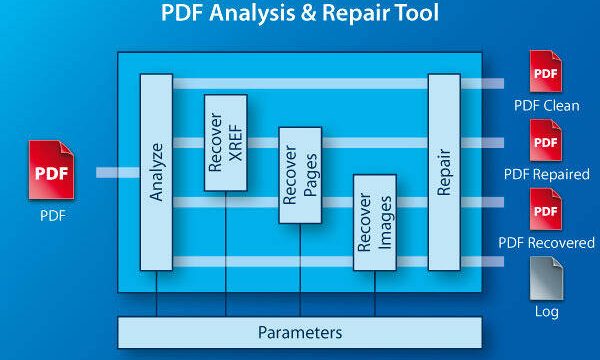
So you’ve got a PDF that won’t open, throws errors, or looks scrambled. Before you give up and lose that important file, try Ghostscript — the same engine that powers many professional PDF tools. This guide is for anyone comfortable using the command line (Terminal on Mac/Linux, Command Prompt on Windows). By the end, you’ll have a clean, working PDF, usually with no watermarks or quality loss.
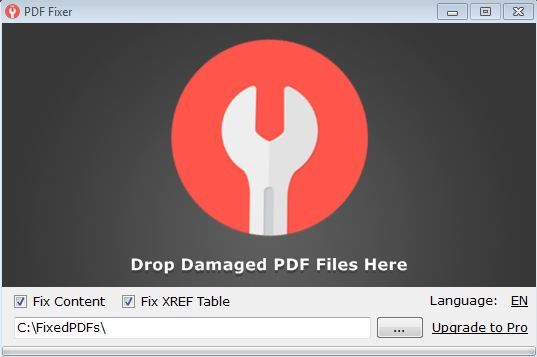
Ghostscript can read a broken PDF and write out a fresh, corrected version. It fixes many common issues: missing cross-reference tables, damaged page content, font problems, and more. You don’t need to be a programmer — just follow the steps. We’ll also point you to an online PDF fixer if you prefer a graphical interface, but Ghostscript is the most reliable free method.
What You’ll Need
- A computer running Windows, macOS, or Linux
- Ghostscript installed (instructions below)
- Your broken PDF file
- Basic comfort with opening a terminal/command prompt
Installing Ghostscript is quick. On Windows, download the installer from the official Ghostscript website and run it. On macOS, use Homebrew: brew install ghostscript. On Linux, use your package manager: sudo apt install ghostscript (Ubuntu/Debian) or sudo yum install ghostscript (Fedora). After installation, open your terminal or command prompt.
Step 1: Locate Your PDF File
Put your broken PDF in an easy-to-find folder, like your desktop or Documents. Note the full file path or simply navigate to that folder in your terminal using cd. For example: cd Desktop. This keeps the command short.

Step 2: Run the Basic Repair Command
The core command is: gs -o output.pdf -sDEVICE=pdfwrite -dPDFSETTINGS=/default input.pdf. Replace input.pdf with your broken file’s name and output.pdf with whatever you want the fixed file called. This tells Ghostscript to read the input, reprocess it using the pdfwrite device, and save a corrected copy.

Press Enter. Ghostscript will process the file. If it works, you’ll see a lot of output (warnings are normal) and finally no errors. Your new PDF should open perfectly.
Step 3: Fine-Tune for Stubborn Files
If the basic command fails, try adding -dNOGC to disable garbage collection, or -dCompatibilityLevel=1.4 for older PDFs. For example: gs -o output.pdf -sDEVICE=pdfwrite -dCompatibilityLevel=1.4 -dPDFSETTINGS=/default input.pdf. You can also try -dUseCIEColor if color looks off. Check the Ghostscript docs for PDF format error repair tips.

Step 4: Use the ps2pdf Wrapper (Alternative)
Ghostscript includes a handy script called ps2pdf that does the same thing with simpler syntax. Just type: ps2pdf input.pdf output.pdf. This is great if you want an easy PDF repair online feel without the online part. It works the same under the hood.

Common Pitfalls
- Ghostscript not recognized as a command: You forgot to add it to your PATH (Windows) or install it properly. Reinstall and make sure the binary is accessible. On Windows, add the Ghostscript bin folder to your PATH environment variable.
- File size blows up: Using
-dPDFSETTINGS=/defaultor/prepresscan increase file size. Try/screenfor smaller output, or don’t use the flag at all (just-dDEVICE=pdfwrite). - PASSWORD-protected PDFs: Ghostscript cannot process encrypted PDFs unless you know the password. Use an online PDF fixer that supports password removal first.
For issues with XREF tables specifically, our repair PDF XREF table guide goes deeper. And if you just want a one-click solution, check the PDF repair guide for more tools.
Where to Next
Now you can fix most broken PDFs with a single command. If Ghostscript doesn’t work, your file may be too damaged — try recovering it from a backup or using a dedicated recovery tool. Remember, Ghostscript is open-source and free, so it’s always worth a shot. Happy repairing!