If you have a corrupted PDF that won’t open, shows garbled text, or crashes your reader, you don’t need to be a tech wizard to fix it. Drag and drop PDF repair is the easiest method out there: you just grab your damaged file and let a dedicated tool work its magic. By the end of this guide, you’ll have a functional PDF without touching a single line of code.
This guide is for anyone—students, office workers, freelancers—who needs a quick fix for a corrupted PDF. Whether your file was damaged during download, transfer, or compression, drag-and-drop tools can often recover it. We’ll walk you through the process using a free online tool, so you can get back to work in minutes.
What You’ll Need
- A corrupted PDF file (the one you want to repair)
- A stable internet connection (if using an online tool)
- A modern web browser (Chrome, Firefox, Edge, or Safari)
- Recommended tool: the drag-and-drop repair interface at PDFRepair.click or a similar online service
- Alternatively, a desktop app like Adobe Acrobat Pro if you prefer offline repair
Step 1: Open the Drag-and-Drop Repair Tool
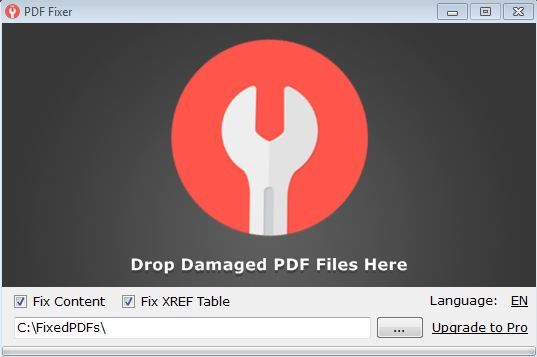
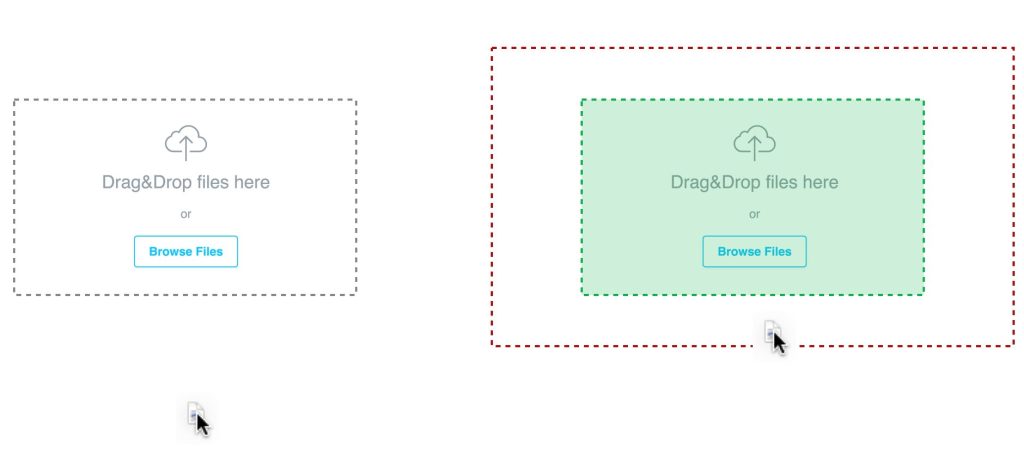
Navigate to a reliable drag-and-drop PDF repair website. The tool we’ll use has a big, clear area in the center of the page that says “Drop your PDF here” or “Drag & Drop.” Avoid clutter—you want a tool that’s dedicated to PDF repair, not a multi-function converter.
Step 2: Drag Your Corrupted PDF onto the Drop Zone
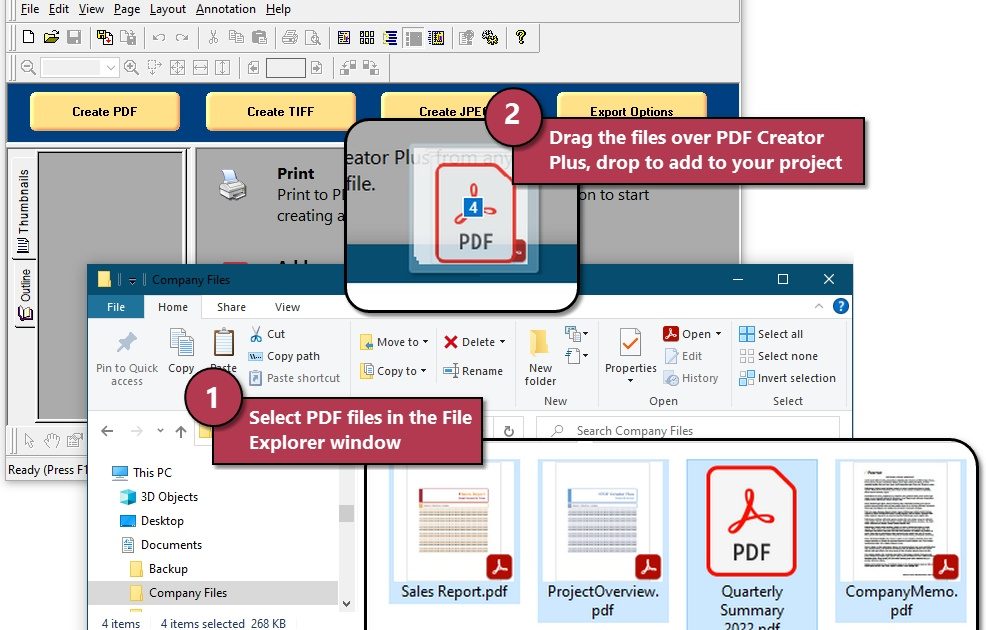
Locate your corrupted PDF on your computer. Click and hold the file, then drag it directly onto the drop zone on the website. Release the mouse button to drop it. You’ll see the file name appear, often with a brief processing indicator. If the tool accepts the file, you’re good to go; if not, you might need to check the file size or format limits.

Step 3: Wait for the Repair Process to Complete
Once you drop the file, the tool automatically starts repairing. A progress bar or spinning icon will show that it’s working. Most drag-and-drop tools are fast—usually under a minute for files under 50 MB. Larger files may take longer. Don’t close the browser tab or interrupt the process.
Step 4: Download Your Repaired PDF
When the repair finishes, a download button or link will appear. Click it to save the repaired PDF to your computer. The new file is usually renamed with “_repaired” or “_fixed” appended. Open it in your preferred PDF reader to confirm it’s working. If the file still has issues, you can try a different tool or a more advanced method like using a dedicated pdf repair software.
Common Pitfalls
- File too large: Many free online tools have a size limit (e.g., 100 MB). If your PDF exceeds it, compress it first or use a desktop application that handles large files better.
- Network interruption: If your internet drops mid-repair, the process may fail. Use a wired connection or ensure a stable Wi-Fi signal. For offline repair, consider a tool like a browser pdf repair tool that works locally.
- Unrepairable corruption: Some PDFs are too damaged to be fixed by simple drag-and-drop. In that case, you may need to recover damaged pdf using more powerful methods or use a pdf integrity checker to assess the damage first.
Where to Next
If drag-and-drop didn’t do the trick, don’t give up. Try using dedicated pdf repair software for more robust recovery, or learn to repair compressed pdf if compression caused the issue. For severe corruption, a step-by-step guide on how to repair a corrupted pdf can help. You can also check out our full collection of PDF repair guides for every scenario.