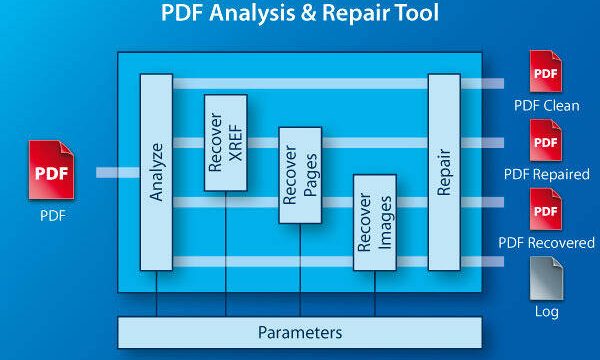
Ever opened a PDF only to find blank squares where photos used to be? Or maybe the file won’t even open because of image corruption. Don’t panic—this guide is for anyone who’s lost images in a PDF and wants them back. By the end, you’ll have a restored PDF with all visuals intact, using tools you probably already have. We’ll cover free online services, Adobe Acrobat’s built-in repair, and a manual extraction trick that works when nothing else does.
Whether you’re dealing with a scanned document that turned into gibberish, a downloaded report with broken images, or a PDF that simply refuses to open, these steps will get you sorted. No technical expertise required—just follow along.
What You’ll Need
- A corrupted PDF file with missing or broken images
- A computer with internet access
- Adobe Acrobat Reader (free) or Adobe Acrobat Pro (trial works)
- Optional: PDFtk (free command-line tool) for manual fixes
- A backup of the original file (just in case)
Step 1: Try a Free Online PDF Repair Tool
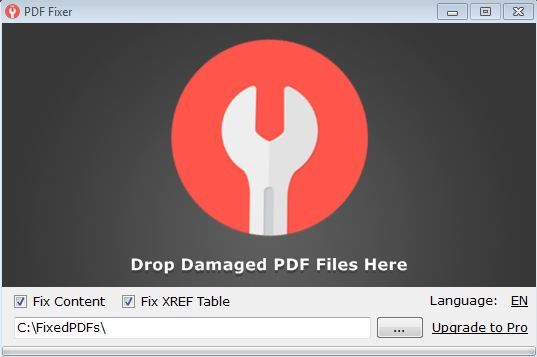
The easiest first move is to upload your PDF to a reputable online repair service. These tools often handle image corruption automatically. I recommend checking out our list of the best online pdf repair services—they’re tested and free for small files. Upload your PDF, wait for the repair, and download the result. If images reappear, you’re done.
Most online tools have a file size limit (usually 10–50 MB). If your PDF is larger, skip to Step 2. Also, never upload sensitive documents to free services—stick with offline methods for private files.
Step 2: Use Adobe Acrobat’s Built-in Repair
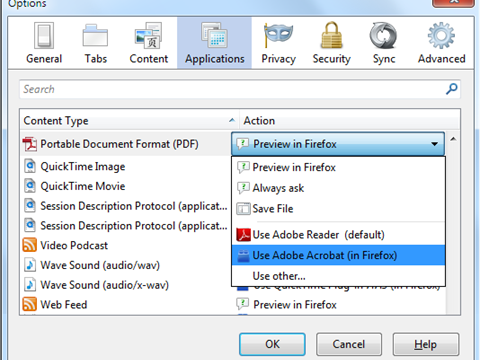
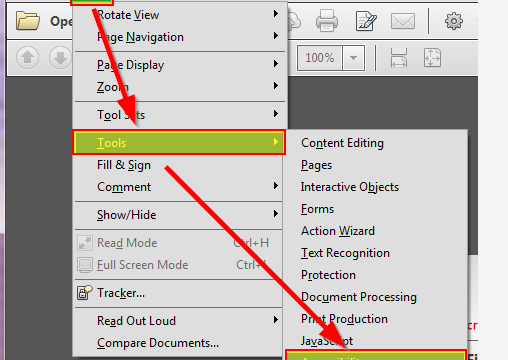
Adobe Acrobat Reader (free) and Acrobat Pro both have a hidden repair feature. Open the PDF, then go to File > Open and select the file. When it opens with errors, Acrobat sometimes prompts you to repair it. If not, go to File > Properties > Advanced and click ‘Repair’. This rebuilds the file structure, often restoring images. For a deeper clean, use Acrobat Pro’s ‘Optimize Scanned PDF’ tool—it re-processes images and can fix artifacts.
If images are still missing, try saving the PDF as a new file: File > Save As > Reduced Size PDF. This strips out corruption and re-encodes images. Not a guarantee, but it works often enough to be worth a try.
Step 3: Extract and Reinsert Images Manually
When automated repairs fail, go manual. Extract all images from the PDF using a tool like PDFtk or an online image extractor. Our guide on repair pdf with pdftk shows you the command-line steps. Once extracted, open the original PDF in Acrobat Pro, delete the broken image placeholders (Edit > Edit PDF > right-click image > Delete), then reinsert the extracted images. Save the file—you’ve effectively replaced the corrupted bits.
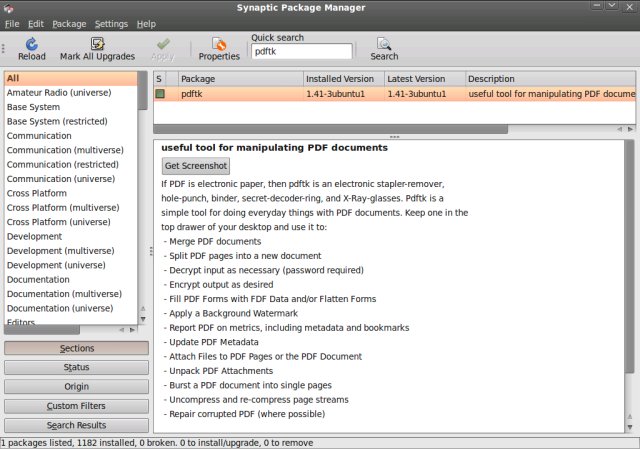
For an easier approach, use a dedicated PDF editor like Foxit PhantomPDF to replace images directly. But Acrobat Pro is the gold standard for this. If you don’t have it, try the free trial.
Step 4: Convert to Another Format and Back
A sneaky trick: convert the PDF to a Word document (docx) using an online converter or Adobe Acrobat’s Export PDF tool. Open the docx in Microsoft Word—images often appear there even if they were broken in the PDF. Save the docx, then convert it back to PDF. The conversion process re-encodes images and can ‘heal’ them. This method is especially good for scanned PDFs with embedded images.

Beware: complex layouts may shift, but for image-centric PDFs (like photo albums), this is a lifesaver. You can also use Google Drive’s built-in PDF viewer to open and re-download—sometimes that refreshes the file.
Step 5: Use Dedicated PDF Repair Software
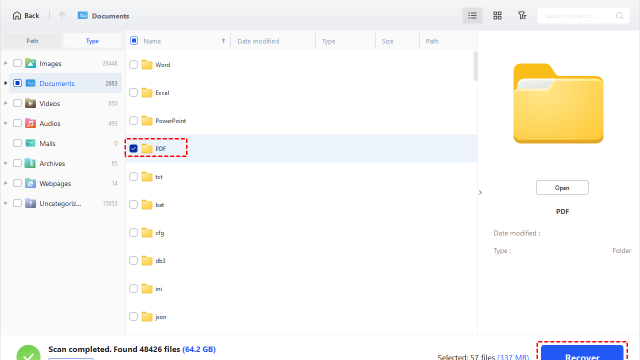
If the above steps fail, it’s time for specialized software. Tools like Recovery Toolbox for PDF or SysTools PDF Repair scan the file byte-by-byte and recover images even from severely corrupted PDFs. They aren’t free, but many offer trials that repair the first few pages. For ongoing issues, check out our general pdf repair tips for software recommendations.

These tools are your nuclear option. They can also fix pdf errors online if you prefer a web version, but offline tools are more powerful for large files.
Common Pitfalls
- **Using the wrong tool for the job.** Not all PDF repair tools handle images equally. If one fails, try another method—don’t assume the file is hopeless.
- **Overlooking file backups.** Always work on a copy. Some repair tools modify the original file and can make it worse. Keep the original untouched.
- **Ignoring metadata corruption.** Images might be fine but the PDF’s internal pointers to them are broken. In that case, manual extraction and reinsertion (Step 3) is the only fix.
Where to Next
Once your images are restored, you might want to repair pdf pages that still look off, or learn about preventing future corruption. We have guides on everything from fixing invoice PDFs to dealing with zero-byte files. Keep exploring, and remember: almost every PDF can be saved with the right approach.