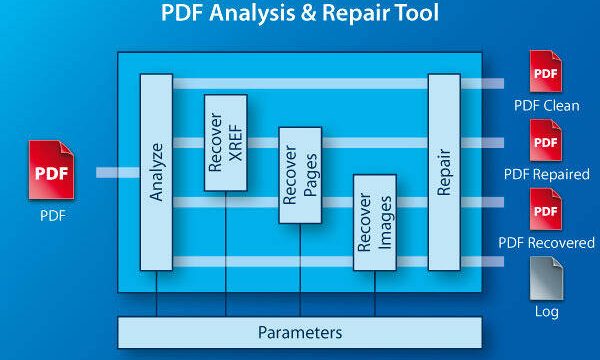
So your PDF won’t open, shows gibberish, or throws an error every time you try to view it. Don’t panic — automatic PDF repair tools can often salvage your file with just a few clicks. Whether you’re dealing with a corrupted download, a damaged attachment, or a file that went wrong after a crash, this guide is for you. By the end, you’ll have a working PDF and know exactly how to avoid these headaches in the future.
We’re keeping it simple. You don’t need to be a tech wizard or buy expensive software. We’ll walk you through three methods: using an online repair tool, a free desktop app, and a built-in command-line trick. Each step is tested and beginner-friendly. If you prefer to skip the manual stuff, start with the online option — it’s the easiest.
What You’ll Need
- A corrupted or damaged PDF file (keep a backup copy!)
- Internet connection (for online tools)
- Optional: PDF repair software like PDFsam or qpdf (free)
- A computer or phone with a PDF viewer
Step 1: Try a Free Online PDF Repair Tool
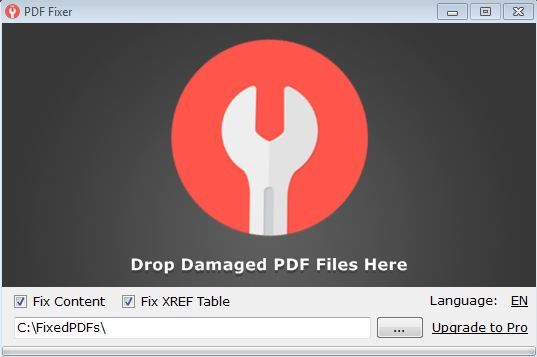
The quickest way to fix a broken PDF is by using a web-based tool. No installation, no hassle. Just go to a reputable site, upload your file, and let it do the magic. Most online tools can handle common corruption like missing headers, cross-reference table issues, or truncated streams. For best results, use one of the free online PDF repair tools listed on our site. They’re safe and don’t keep your files.
Step 2: Upload Your PDF for Repair
Click the upload button and select your corrupted PDF. Many tools allow you to upload a PDF directly from your device or from cloud storage like Google Drive. If your file is large (over 50 MB), check if the tool supports large files. Some free services have size limits — if that’s an issue, try a dedicated large PDF file repair tool. Once uploaded, click “Repair” or “Fix.” The process usually takes a few seconds to a couple of minutes.
Step 3: Use a Desktop App for Automatic Repair
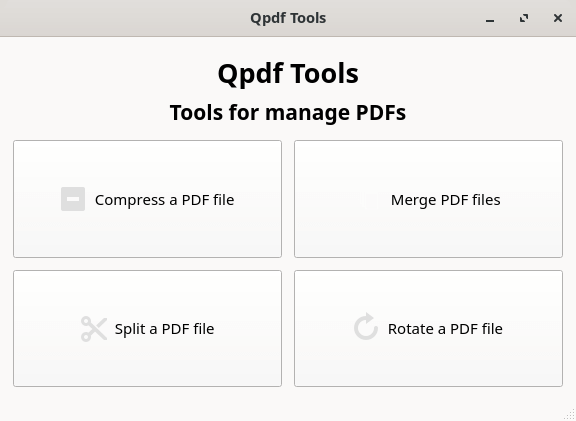
If online tools aren’t cutting it or you prefer offline software, try a free desktop app like PDFsam or qpdf. These apps can fix structural issues, recover content, and even reconstruct a PDF from scratch. For qpdf, open your terminal or command prompt and run: qpdf –replace-input corrupted.pdf. This command automatically flattens and linearizes the file, often resolving corruption. Check our step-by-step PDF repair guide for more command-line examples.
Step 4: Check the Repaired File and Backup
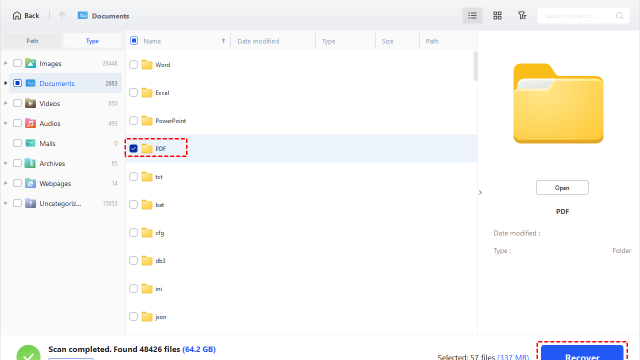
After repair, download or save the fixed PDF and open it in your usual viewer. Verify all pages, images, and links are intact. If some elements are still broken (e.g., images missing), you may need a more specialized approach. For future protection, always keep a backup. If you need to recover from a cloud backup, check out how to recover a PDF from Google Drive. Also, consider using the PDF repair website for quick checks before they become problems.
Common Pitfalls
1. Forgetting to backup the original file. If the repair tool makes things worse, you won’t have a second chance. Always save a copy before uploading or running any command.
2. Using untrusted online tools. Some sites might inject malware or steal your data. Stick to reputable ones — like the free online PDF repair tools we recommend — or use desktop software.
3. Ignoring file size limits. Many free online tools cap uploads at 50 MB. If your PDF is larger, you’ll need desktop software or a dedicated large PDF file repair service. Trying to upload a big file to a capped tool will just waste your time.
Where to Next
Now that your PDF is fixed, you might want to explore other common issues — like fixing broken links or recovering lost images. We’ve got guides for that too. And if you ever encounter the same problem again, remember: automatic PDF repair is your first line of defense. Save this page, share it with friends, and never let a corrupted PDF ruin your day again.