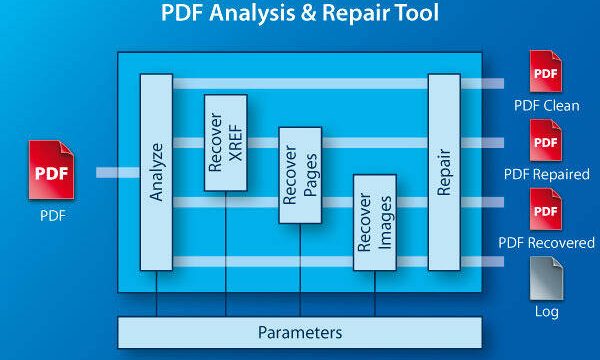
Got a corrupted PDF that won’t open? Before you panic, know this: most damaged PDFs can be fixed by simply uploading them to a reliable online repair tool. Whether it’s an invoice, ebook, or work document, the repair process starts with a successful upload. This guide is for anyone who’s ever stared at an error message wondering, “How do I even get this file to the tool?” By the end, you’ll know exactly how to upload your PDF for repair — and what to do if things go wrong.
We’ll walk through choosing a safe repair service, preparing your file, and uploading it step by step. You’ll also learn how to avoid common upload errors and how to handle large files. Plus, I’ll link to some detailed guides on repair a damaged PDF file and free online repair options. Let’s get that PDF back in shape.
What You’ll Need
- A corrupted or unopenable PDF file (preferably under 50 MB for most free tools)
- A stable internet connection
- A modern web browser (Chrome, Edge, Firefox, etc.)
- Access to a trusted online PDF repair service (like the ones we cover in pdf repair website guides)
- Patience – upload times vary by file size and network speed
Step 1: Choose a Reliable PDF Repair Service
Not all repair sites are created equal. Stick with reputable options that respect your privacy. Look for sites that offer drag and drop repair and clearly state they delete files after processing. Avoid shady sites that ask for your email or credit card for basic repairs. A good pdf repair website will have a simple upload button and clear instructions.
Step 2: Locate the Upload Button
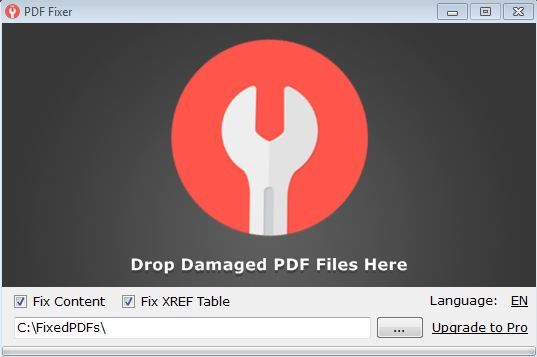
Once you’re on the repair site, find the upload area. It’s usually a big button that says “Upload PDF” or a dashed box where you can drag your file. Many sites also support drag and drop repair — just grab your file from your computer and drop it right there.
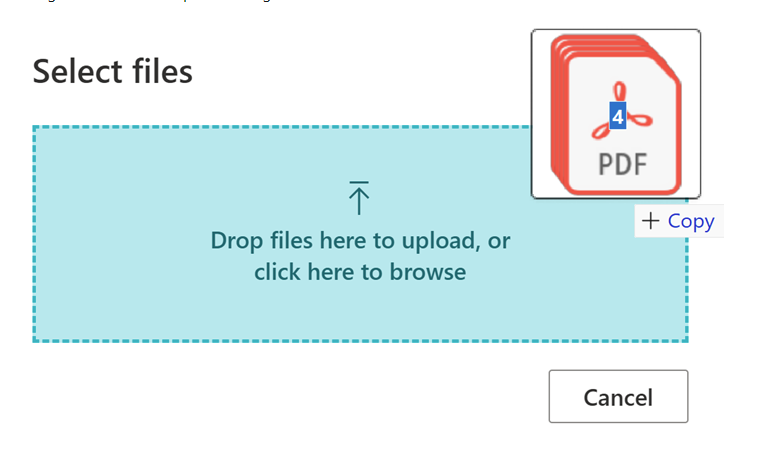
Step 3: Select Your Corrupted PDF File
Click the upload button (or drop the file) to open your file browser. Navigate to where you saved your corrupted PDF. If you’re unsure where it is, check your Downloads folder or use the search function. Select the file and click “Open.” For larger files, consider using a service that can repair large PDF files without crashing.
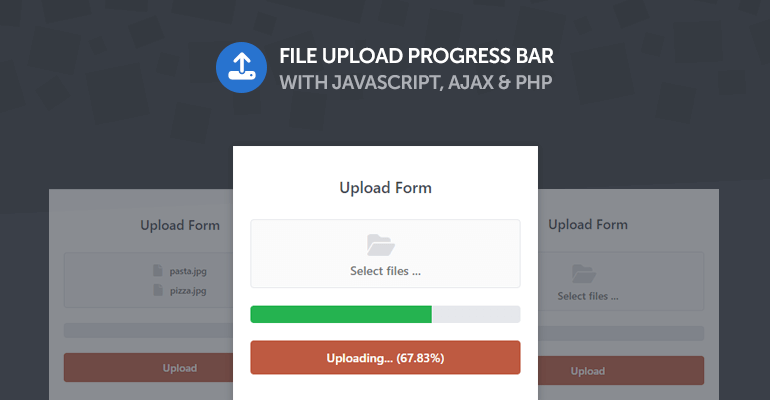
Step 4: Wait for the Upload to Complete
After selecting the file, the upload begins. You’ll often see a progress bar or a spinning icon. Don’t navigate away or close the tab — let it finish. Upload speed depends on your internet and file size. For a typical 10 MB PDF, this usually takes under a minute.
Step 5: Start the Repair Process
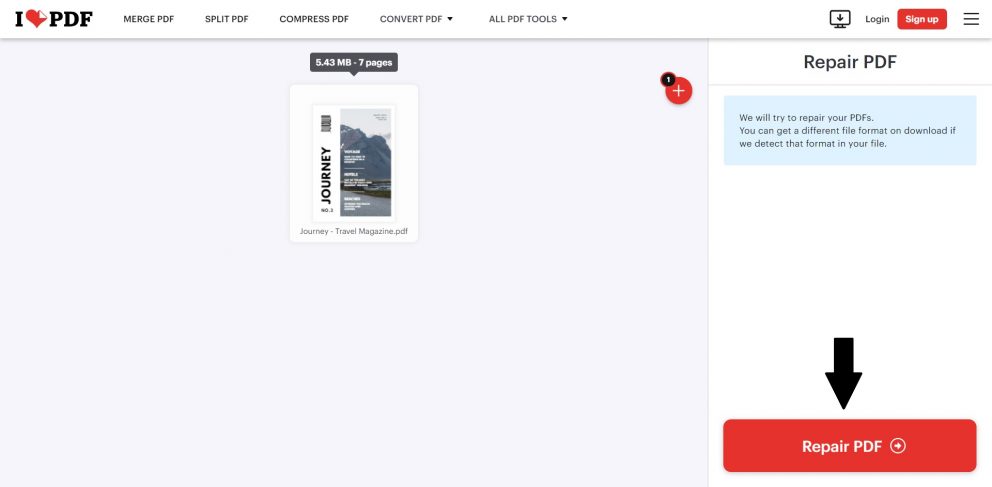
Once the upload is complete, click the repair or fix button. The site will process your file and attempt to recover its contents. Some services let you preview the repaired PDF before downloading. If the tool fails, try a different service or check if the file is truly corrupted — sometimes the issue is with your PDF viewer, not the file itself.
Step 6: Download the Repaired PDF
When repair finishes, you’ll get a download link. Click it to save the fixed PDF to your computer. Give it a new name so you don’t confuse it with the original. Open it in your PDF reader to confirm everything looks good. If you still see issues, you may need a more advanced repair method — but most of the time, the free online repair works like a charm.
Common Pitfalls
- File too large: Many free tools limit upload size to 20-50 MB. If your PDF is bigger, look for services that can repair large PDF files or try compressing it first.
- Wrong file type: Make sure the file ends in .pdf. Some sites reject files with mismatched extensions. Rename if needed.
- Upload interruption: If your internet drops mid-upload, you’ll have to start over. Use a wired connection or reliable Wi-Fi.
Where to Next
Your PDF is fixed! Now that you know how to upload and repair, you might want to explore deeper fixes. If the file is still acting up, check out our guide on repair a damaged PDF file for more advanced tips. Or if you prefer working completely offline, consider using dedicated desktop software. Happy repairing!