Ever tried to open a PDF only to get an error about a missing cross-reference table? That’s a classic xref corruption—and it’s super frustrating because you can see the content in a hex editor but your PDF reader just gives up. This guide is for anyone who has a broken PDF that won’t open or shows blank pages because of a damaged xref table. By the end, you’ll have a working PDF, whether you manually fix the xref or let Ghostscript handle it.
We’re going to cover two approaches: a manual text-edit method for simple corruption, and a Ghostscript command-line method that rebuilds the entire xref from scratch. You don’t need to be a developer—just comfortable with basic text editing and running a command. If you’ve tried other repair tools without luck, this deep dive will save your file.
What You’ll Need
- Your corrupted PDF file (keep a backup!)
- A plain-text editor that shows raw data (Notepad++, Sublime Text, or even Visual Studio Code)
- Optional: A hex editor if offsets get tricky (HxD for Windows, Hex Fiend for Mac)
- Ghostscript installed on your computer (free, download from ghostscript.com)
- A PDF viewer to test the result (Adobe Acrobat Reader, Chrome, etc.)
Before we dive in, make sure you have a copy of your original file. You might accidentally make things worse, so backup first. For a simpler alternative, check out our manual fix guide that works without any extra tools.
Step 1: Diagnose the Xref Problem
Open your PDF in a text editor. At the very end of the file, you’ll see a line like `startxref` followed by a number, then `%%EOF`. That number tells the reader where the xref table (cross-reference table) lives. If that number is wrong, the table is missing, or the table itself is garbled, the PDF won’t open.
Look for a section starting with `xref` near the end. It should list object offsets. If you see nonsense characters, missing numbers, or the `xref` keyword is absent, you’ve got a bad xref. Jot down the byte offset where the xref begins (the number after `startxref`).
Step 2: Backup and Prep
Duplicate your PDF file and work on the copy. If you mess up, you can always go back to the original. For safety, use a hex editor to view the exact bytes if the corruption is severe. This is especially important when the offsets are off by a few bytes—every character counts.
If you prefer to skip the manual headache, you can jump to the Ghostscript method in Step 4. But for small issues, a direct edit is quick and satisfying.
Step 3: Manual Xref Repair
In your text editor, locate the `xref` table. It should look like:
“`
xref
0 6
0000000000 65535 f
0000000015 00000 n
0000000056 00000 n
…
“`
Each line has a 10-digit offset (padded with leading zeros), a generation number, and a keyword `n` (in use) or `f` (free). If the offsets are wrong, calculate the correct offsets by searching for each object in the file. For example, to find object 1, search for `1 0 obj`. Note the byte position (at the start of `1 0 obj`). That’s the true offset.
If the number after `startxref` is wrong, correct it to the exact byte where `xref` begins (including any newline characters). Save the file and try opening it. If it now opens, great! If not, check for extra spaces or incorrect line endings. This method works best for simple corruption; for deeper issues, move to Ghostscript.
Step 4: Use Ghostscript to Regenerate Xref
Ghostscript can parse the PDF content and write a fresh, valid xref table. Open your terminal (Command Prompt on Windows, Terminal on Mac/Linux) and run:
“`
gs -o repaired.pdf -sDEVICE=pdfwrite -dPDFSETTINGS=/prepress corrupted.pdf
“`
The `-o` flag names the output file. `-sDEVICE=pdfwrite` tells Ghostscript to write a new PDF. The `-dPDFSETTINGS=/prepress` option preserves high quality and most features.

If that fails, try `-dPDFSETTINGS=/default` or add `-dCompressPages=false` to debug. Ghostscript is powerful—it can fix even severely broken xref tables. For a dedicated walkthrough, see our ghostscript repair guide.
Step 5: Verify the Repaired PDF
Open the output PDF in your viewer. Scroll through all pages to make sure text, images, and forms are intact. If some pages are missing, the original file might have deeper data loss. In that case, try `-dPDFSETTINGS=/ebook` (lower quality, higher compatibility) or use a dedicated tool from our free repair list.
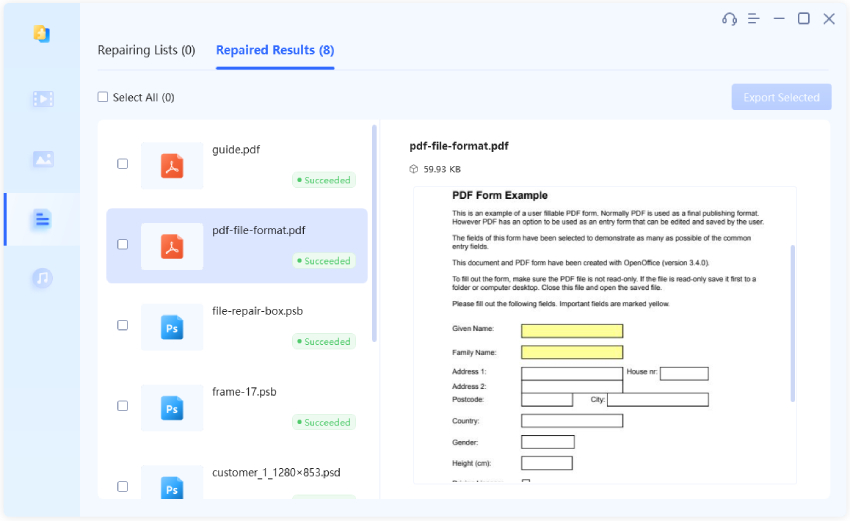
If the repair works, rename your file and you’re done. If not, the corruption might be in the content streams, not just the xref. Try a crash recovery approach for those cases.
Common Pitfalls
- Forgetting to backup: A small edit error can make the file unreadable. Always keep the original.
- Misaligning offsets: A single digit off in the xref offset (e.g., 0000000055 vs 0000000056) will break the whole table. Double-check in hex.
- Using the wrong Ghostscript version: Older versions may not handle modern PDF features. Use the latest stable release (at least 9.55).
Where to Next
Now that you’ve fixed a bad xref, explore other repair techniques. Our xref repair tutorial covers more advanced cases. If you regularly handle corrupted PDFs, learn how to manual fix common issues, or try the free repair tools we recommend. Happy repairing!