You’ve got a PDF that won’t open, shows garbled text, or is missing pages. It’s your resume, a bank statement, or an important contract — and you need it fixed now. This guide is for anyone who’s ever seen that dreaded ‘The file is damaged and could not be repaired’ message. By the end, you’ll have a working PDF and know how to pick the right repair tool for any corruption scenario.
We’ll walk through four concrete steps: identifying the exact problem, choosing a suitable repair tool (there’s a free option if you’re on a budget), running the repair, and verifying the output. I’ll also share common pitfalls so you don’t waste time. Let’s get your PDF back.
What You’ll Need
- A corrupted PDF file (keep a backup copy)
- A computer with internet access
- One of the following tools: Adobe Acrobat Pro, qpdf (command-line), or a free online repair service (e.g., PDF24, iLovePDF)
- Patience — some repairs take a few tries
Step 1: Identify the Exact Problem
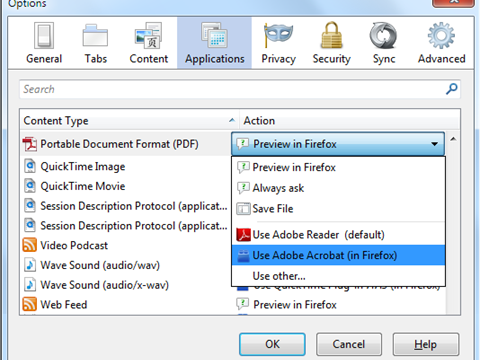
Before you grab a tool, know what you’re dealing with. Try opening the PDF in a few viewers (Adobe Reader, browser, etc.). Note the error: ‘Cannot open file’, ‘Font not found’, ‘Pages missing’, or ‘File is damaged’. Different causes need different fixes. For example, a simple header corruption might be fixed by a quick rebuild, while a deep structural issue might need a specialized repair like the qpdf tool.
Step 2: Choose a Repair Tool

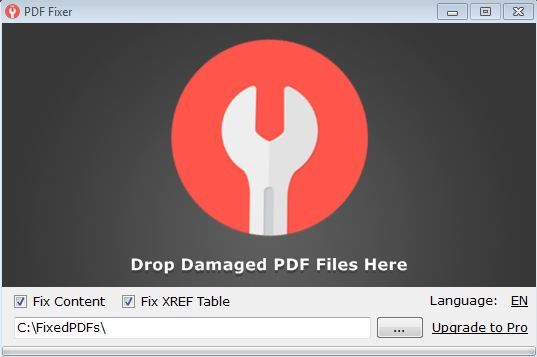
Based on your diagnosis, pick a repair tool. If the PDF is just ‘unreadable’, try a free online service first. For stubborn corruption, use Adobe Acrobat’s built-in repair (File > Repair). For command-line fans, the qpdf tool is powerful for rebuilding PDFs. If you’re dealing with a specific issue like missing pages, check our guide on that. And if it’s a bank statement, there’s a dedicated guide for that too.
Step 3: Run the Repair

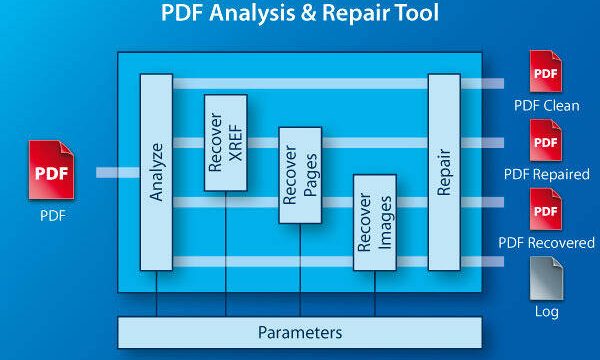
Follow the tool’s instructions. For online services, upload the file and wait. For Acrobat, open the PDF and go to File > Save As Other > Optimized PDF… then click ‘Audit & Repair’. For qpdf, run a command like: qpdf –linearize corrupted.pdf repaired.pdf. If the file is severely damaged, try multiple tools; sometimes combining a free option with a manual fix (like extracting pages) works.
Step 4: Verify the Output

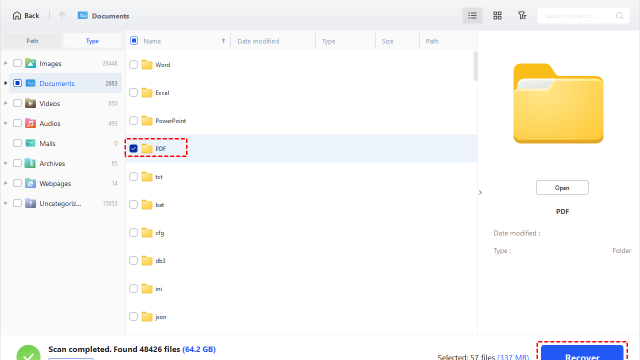
Open the repaired PDF in at least two different viewers. Scroll through all pages, check for missing content, fonts, and formatting. If it looks good, save a copy. If not, try a different approach — maybe the original file is beyond simple repair, and you’ll need to recover data from it using a tool designed for unreadable PDFs.
Common Pitfalls
Here are three mistakes people make when repairing PDFs — and how to avoid them.
- Working on the original file without a backup. Always keep a copy of the corrupted original in case the repair damages it further.
- Using too many online tools that reduce quality. Some free services compress or alter the PDF. Stick with one reliable tool or a command-line utility like qpdf.
- Assuming one repair fits all. A PDF with corrupted images needs different handling than one with missing pages. Match the tool to the symptom.
Where to Next
Now that you’ve repaired your PDF, you might want to prevent future corruption. Learn how to detect corrupted PDFs early, or explore advanced recovery methods for severe cases like disk errors. If you often deal with password-protected PDFs, our guide on fixing password-protected PDFs can help. Happy repairing!