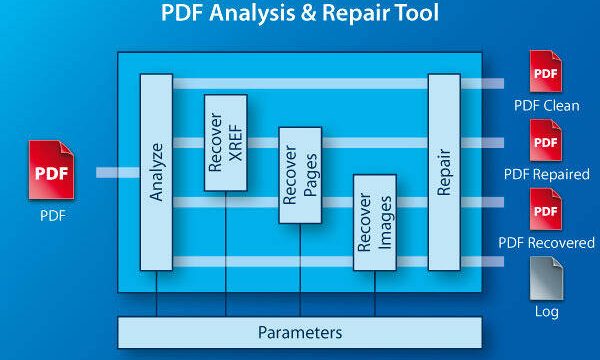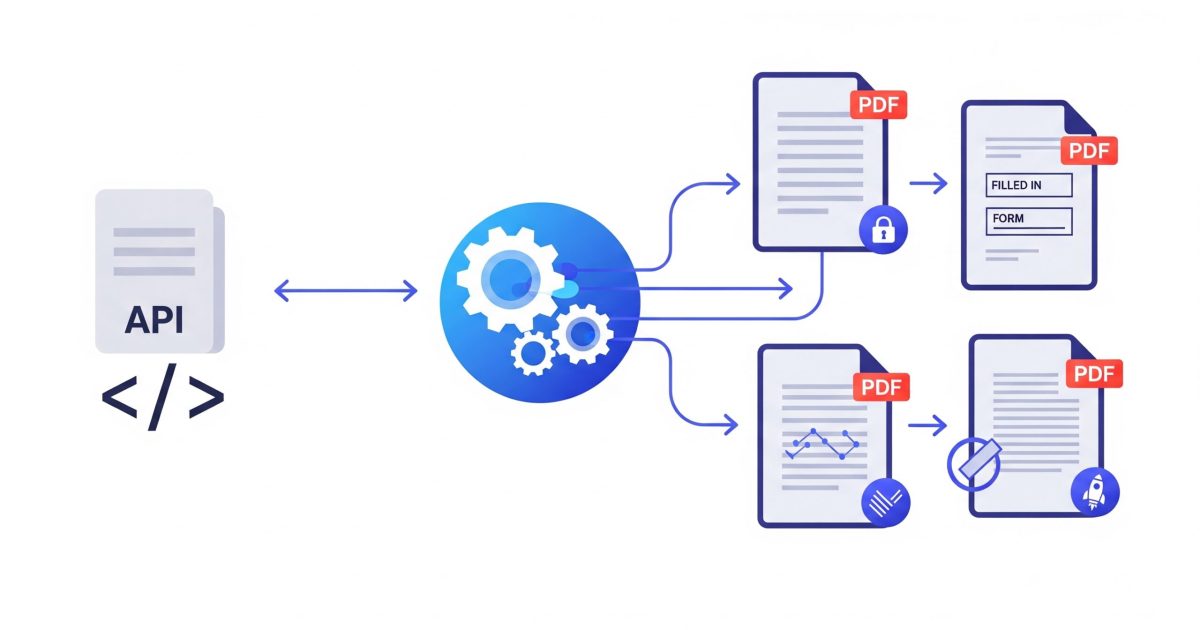
Are you tired of manually fixing corrupt PDFs one by one? If you’re a developer or IT pro who handles dozens of broken documents daily, a PDF recovery API can automate the whole process. In this guide, I’ll show you how to integrate a PDF repair endpoint into your own scripts. By the end, you’ll have a working Python function that sends a damaged file to the API and retrieves a healthy PDF — ready for your workflow.
We’ll use a simple REST API (like the one from PDFGear or similar services). You don’t need to be an expert — just basic familiarity with Python and HTTP requests. I’ll also point you to other helpful resources, such as our best online PDF repair tools if you’d rather not code, or our bulk PDF repair guide for handling many files at once.
What You’ll Need
- An API key from a PDF recovery service (most offer free tier)
- The API base URL (e.g., https://api.pdfrepair.example.com/v1)
- Python 3.x installed on your machine
- The `requests` library (install via pip)
- A sample corrupt PDF file for testing
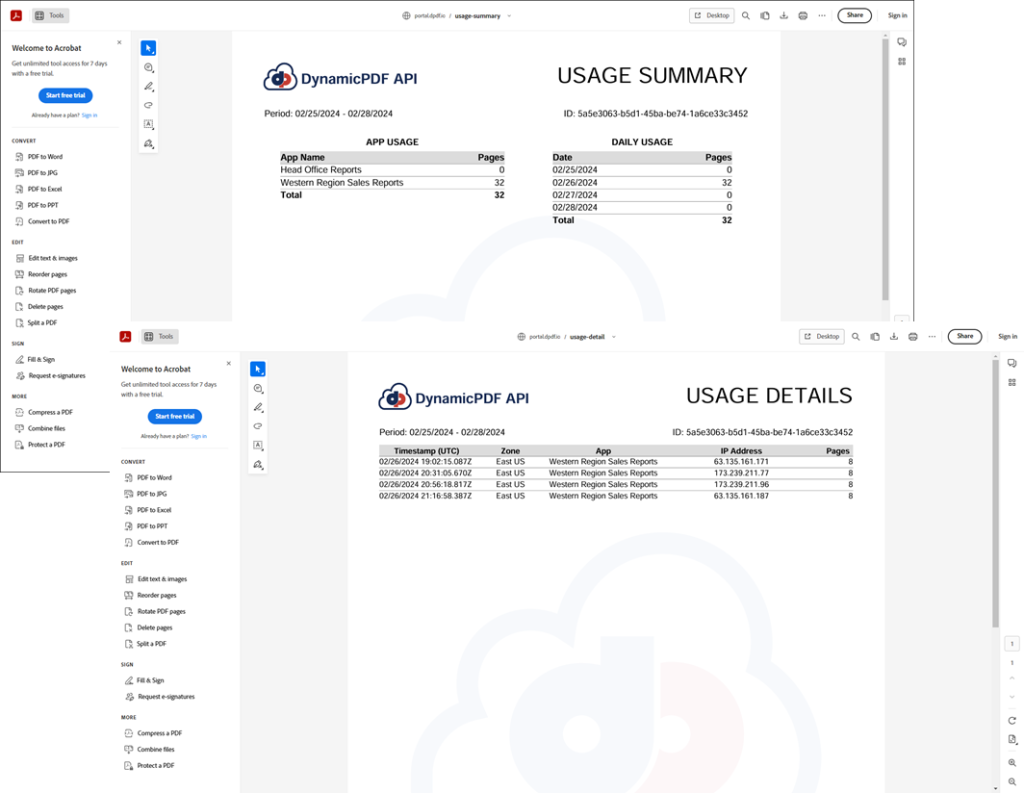
Step 1: Sign Up and Get Your API Credentials
Go to your chosen PDF recovery provider’s website and create an account. After logging in, navigate to the API section to generate a key. Copy both the API key and the endpoint URL — you’ll need them in the next steps. Most dashboards look similar to the image above.

Step 2: Install the Requests Library
Open your terminal or command prompt and run: `pip install requests`. This library will handle all HTTP communication with the API. If you’re using a virtual environment, activate it first.
Step 3: Write a Function to Send a PDF File
Create a new Python script and define a function that reads your corrupt PDF and sends it to the API. Here’s a minimal example:
“`python
import requests
def repair_pdf(api_key, endpoint, file_path):
headers = {‘Authorization’: f’Bearer {api_key}’}
with open(file_path, ‘rb’) as f:
files = {‘file’: f}
response = requests.post(endpoint, headers=headers, files=files)
return response
“`
Replace `endpoint` with your actual API URL. The function returns the response object, which we’ll handle next. If you need to repair PDF pages selectively, I recommend checking out our guide on repair PDF pages for more advanced handling.
Step 4: Handle the Response
When the API responds, check the status code. A 200 means success — the repaired PDF will be in the response content. Save it to a file:
“`python
response = repair_pdf(API_KEY, ENDPOINT, ‘corrupt.pdf’)
if response.status_code == 200:
with open(‘repaired.pdf’, ‘wb’) as f:
f.write(response.content)
else:
print(‘Error:’, response.json().get(‘message’))
“`
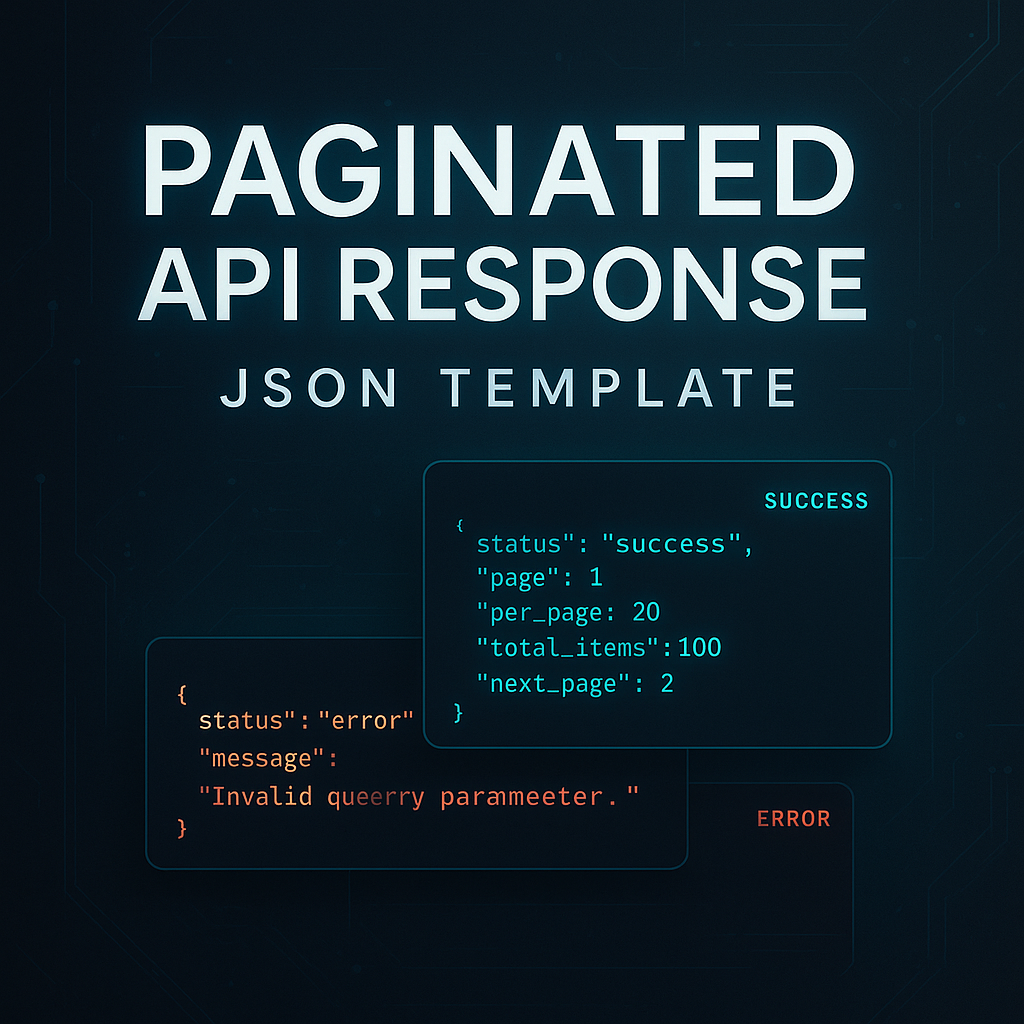
If the repair fails, the API returns a JSON error. Common codes include 401 (unauthorized) and 413 (file too large). For typical document fixes like a damaged invoice, see our fix invoice PDF guide for manual alternatives.
Step 5: Test with a Sample Corrupt PDF
Grab a known corrupt PDF (or intentionally damage a copy of a valid PDF by opening it in a text editor and deleting random bytes). Run your script. If everything works, you’ll get a repaired PDF. If you’re dealing with a file where only part of the data is broken, our repair partially corrupted PDF guide may help.
Common Pitfalls
- File size limits: Many APIs cap uploads at 10–50 MB. Check the docs and split large files if needed.
- Wrong endpoint URL: Double-check for typos or missing version numbers (e.g., /v1 vs /v2).
- Expired API key: Keys can expire or you might exceed rate limits. Always test with a valid key first.
Where to Next?
You’ve automated single-file PDF recovery! To scale up, explore bulk PDF repair techniques. For specific repair needs, check out fix invoice PDF or repair partially corrupted PDF. And if you ever need a quick manual fix without code, our best online PDF repair tools list is a great resource.