If you’re a Mac user and you’ve ever had a PDF refuse to open or display gibberish, you know the panic. Maybe it’s an important document for work or a family photo album. Whatever it is, don’t worry—most corrupted PDFs can be fixed right on your Mac, often without spending a dime. By the end of this guide, you’ll have a working PDF and know several tricks to save future files from the same fate.
This guide is for everyday Mac users—no coding or design skills required. We’ll start with the simplest built-in tools and then move to more advanced methods if those don’t work. Along the way, I’ll also point you to related tutorials for specific issues like how to repair pdf xref tables or fix pdf download errors that might have caused the corruption in the first place.
What You’ll Need
- A Mac running macOS 10.12 or later
- The corrupted PDF file
- A stable internet connection (for online repair options)
- Optional: Adobe Acrobat Pro (trial or paid) for heavy-duty repair
- Optional: Homebrew (for installing command-line tools like pdftk)
Step 1: Try Preview’s Built-in Repair
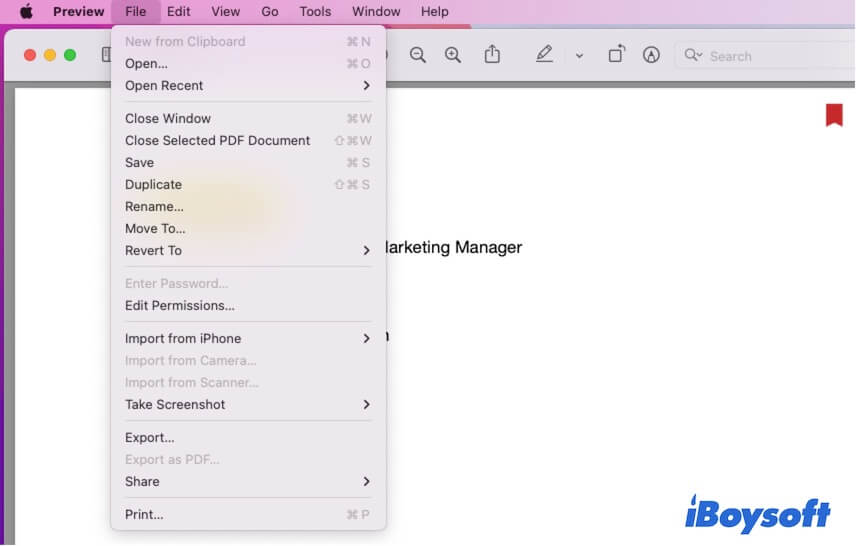
Preview, the default PDF viewer on Mac, comes with a simple fix: just re-export the PDF. Open the corrupted file in Preview. If it opens at all (even with missing content), go to File > Export as PDF. Save it with a new name. This creates a fresh copy that often fixes simple formatting issues.
If the file won’t open, try double-clicking it while holding the Option key. This forces Preview to rebuild the file’s internal structure. Still no luck? Move to step 2.
Step 2: Print to PDF
This trick works wonders: open the PDF in any app that can display it (even if it’s messy) and print it. In the Print dialog, click the PDF button in the bottom-left and choose “Save as PDF.” This re-renders all pages from scratch, often eliminating corruption. For this to work, the file must be partially readable—if it’s totally blank, try step 3.

Step 3: Use Terminal Commands (Advanced)
If Preview fails, you can use command-line tools installed via Homebrew. First, install Homebrew if you haven’t, then run: brew install poppler pdftk. Now open Terminal and navigate to your PDF folder. Use pdfinfo broken.pdf to diagnose the issue. Then try pdftk broken.pdf output fixed.pdf to reconstruct the file. For more on this, check out our pdf repair guide that covers command-line methods in depth.

Step 4: Online Repair Tools (Safe Options)
Several free online services can repair PDFs without watermarks. Upload your file, let them process, and download the fixed version. Use only reputable sites—avoid ones that ask for email or personal details. Our post on how to repair pdf free no watermark lists the best ones. Always upload a copy, not your original.
Step 5: Adobe Acrobat Pro Repair
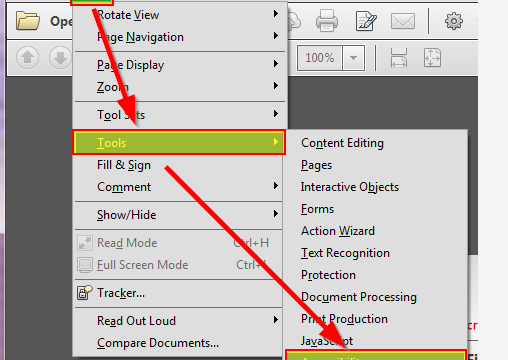
If you have Acrobat Pro, it has a dedicated repair tool. Open the PDF in Acrobat, then go to File > Export To > PostScript > PostScript. Save the .ps file. Then open that .ps file with Acrobat Distiller (included with Acrobat) to rebuild a clean PDF. This method handles severe corruption. For a full walkthrough, see our acrobat pdf repair guide.

Common Pitfalls
- **Overwriting the original file**: Always work on a copy. If your repair makes things worse, you’ll lose the original. Save fixed versions with a new name.
- **Using sketchy online tools**: Some sites add watermarks or malware. Stick to trusted services mentioned in our repair pdf free no watermark article.
- **Ignoring root cause**: A corrupted PDF often comes from a bad download or incomplete transfer. Check for fix pdf download error tips to prevent future issues.
Where to Next
Now that your PDF is fixed, explore more advanced techniques like repair pdf xref table repairs or using APIs for batch fixing. And if you ever face a totally blank or 0-byte PDF, our pdf repair guide has a step-by-step for that too. Happy reading!