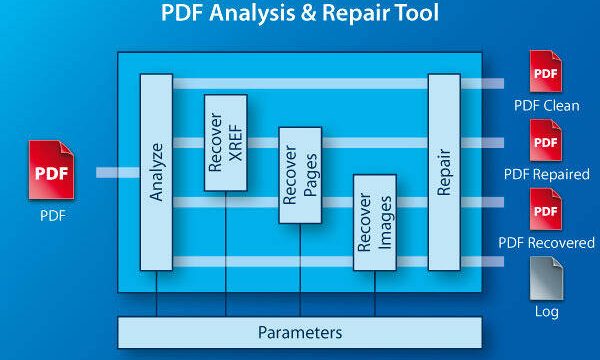
Ever opened a PDF only to see gibberish, missing pages, or an error message? You’re not alone. This guide is for anyone—from student to office worker—who needs a reliable way to diagnose what’s wrong with a PDF file. By the end, you’ll know exactly how to use a PDF diagnostics tool to identify errors like broken links, corrupted structures, or missing fonts, and then fix them step by step.
PDF diagnostics tools can save you hours of guesswork. Instead of opening and closing the file in different readers, a diagnostic scan gives you a clear error report. Whether you’re dealing with a file that won’t open at all or one that looks wrong, this workflow will help you get it back in shape. Let’s dive in.
What You’ll Need
- A PDF diagnostics tool (free options: Adobe Acrobat Reader’s built-in Preflight, PDF24, or Sejda; paid: Adobe Acrobat Pro, PDFelement)
- The problematic PDF file (make a backup copy first!)
- A computer with an internet connection if using an online tool
- Basic file management skills (saving, renaming, etc.)
Step 1: Choose a PDF Diagnostics Tool

Not all PDF tools are created equal. For a thorough diagnosis, pick one that offers a structural analysis. Adobe Acrobat Pro has a built-in Preflight tool that checks everything from syntax to metadata. If you don’t have Acrobat Pro, try PDF24—it’s free and includes a repair/diagnostics feature. Online tools like Sejda are handy for quick scans but may have file size limits. For this guide, I’ll use Adobe Acrobat Pro, but the steps are similar across most tools.
Step 2: Load Your PDF File

Open your diagnostics tool and click the “Open” or “Load” button. Navigate to your problematic PDF and select it. If you’re using an online tool, you’ll typically upload the file via a drag-and-drop area. Important: always work on a copy of your file. This way, if something goes wrong, you still have the original. Back up your file before proceeding.
Step 3: Run the Diagnostics Scan

Once the file is loaded, look for a button labeled “Preflight,” “Diagnostics,” “Check Document,” or similar. Click it to start the scan. The tool will examine the PDF’s internal structure, fonts, images, links, and metadata. This may take a few seconds to a minute depending on file size. While you wait, think about what might have caused the issue—did it happen after a crash, download, or conversion? That context can help later. For example, if you need to repair a PDF after a power outage, the scan might reveal incomplete data blocks.
Step 4: Review the Error Report
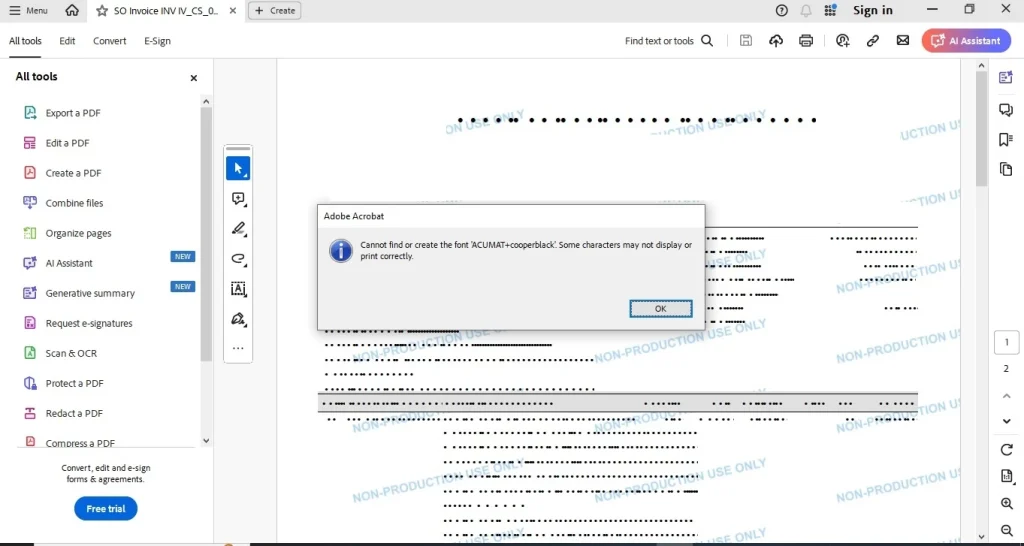
After the scan, you’ll get a report. Common errors include: missing fonts, broken internal links, corrupted cross-reference table, and unsupported features. The report often categorizes issues by severity (errors vs. warnings). Don’t panic if you see many warnings—some are harmless. Focus on critical errors that prevent the PDF from rendering correctly. If you see garbled text, you might need to fix a garbled PDF, which the tool can often do automatically.
Step 5: Apply Fixes
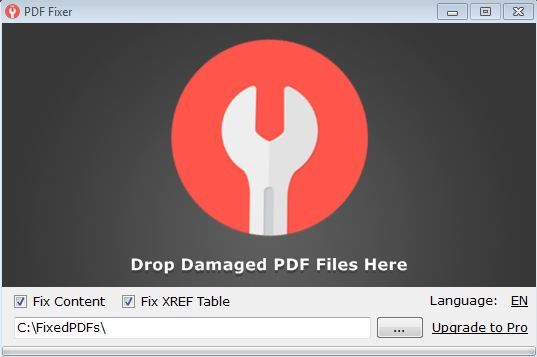
Most diagnostics tools offer an “Auto-Fix” or “Repair All” option. This attempts to resolve common issues like missing references or syntax errors. Be aware that auto-fixes work best for structural problems. If the file is severely corrupted, you may need manual intervention, such as re-embedding fonts or replacing images. For deep corruption, see our guide on how to repair a damaged PDF. After applying fixes, the tool may prompt you to re-run the scan to verify everything was resolved.
Step 6: Save the Repaired PDF

Once you’re satisfied with the fixes, save the PDF with a new filename (e.g., “document_fixed.pdf”). This preserves your original file in case you need to try a different approach. Some tools also let you save a report log. Open the fixed PDF in your preferred reader to confirm it works—check for rendering, links, and text search. If you still have issues, like fix PDF not opening in Edge, it might be a viewer problem, not a file problem.
Common Pitfalls
- Not backing up the original file before running diagnostics. If the auto-fix makes things worse, you can’t revert without a backup.
- Ignoring password protection. Some tools can’t scan encrypted files. Remove the password first (if you know it) or use a tool that supports encrypted diagnostics.
- Assuming all errors are fixable. Very severe corruption—like a physically damaged hard drive—may require specialized data recovery. In those cases, the PDF may be beyond repair.
Where to Next?
Diagnosing your PDF is just the beginning. Depending on the root cause, you might want to explore other how-tos. If the issue happened after a crash, learn how to repair a PDF after a power outage. For display problems, check out our guide to fix a garbled PDF. And if you’re dealing with a truly stubborn file, the repair a damaged PDF article covers advanced methods. Happy fixing!