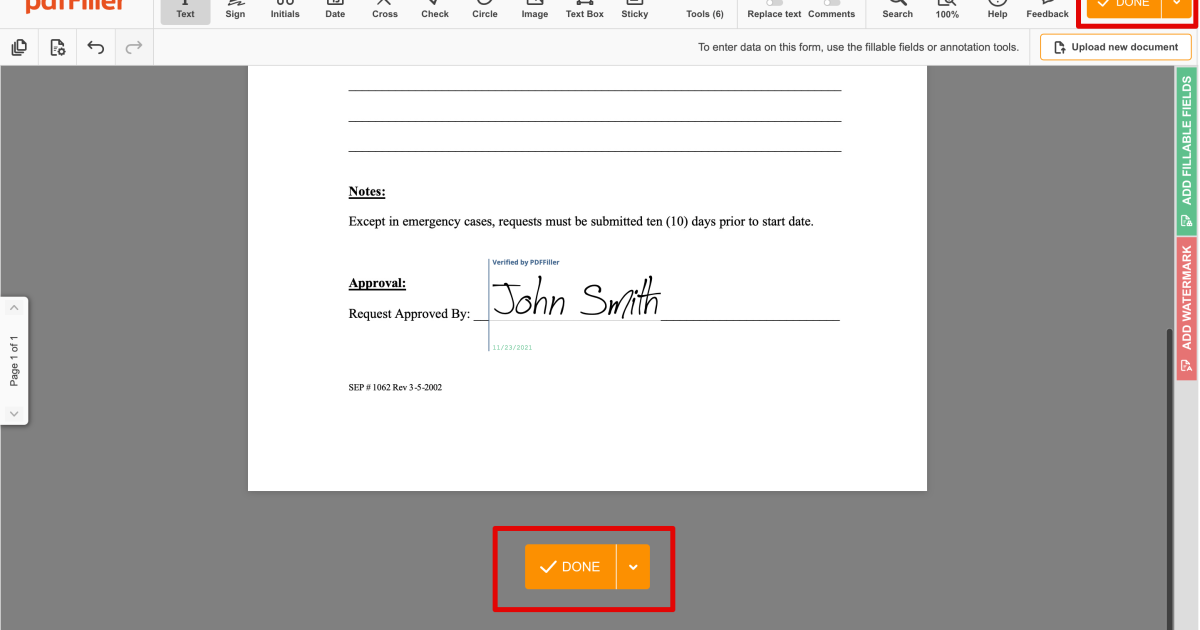
So you’ve got a PDF with a signature that looks like a ghost—it’s there, but it won’t verify, or maybe it vanished after you edited the document. Don’t stress. Whether you’re dealing with a digital signature that’s gone invalid or a signed document that won’t open, this guide is for you. By the end of this tutorial, you’ll have a fully functional signed PDF or know exactly how to re-sign it from scratch. We’ll use tools you probably already have, plus some free alternatives.
I’m assuming you’re comfortable installing software and running basic commands. No coding wizardry required. We’ll cover everything from checking the signature’s status to repairing the underlying PDF structure. Ready? Let’s fix that signature.
What You’ll Need
- Your problematic PDF file (keep a backup!)
- Adobe Acrobat Reader DC (free) or Adobe Acrobat Pro (trial)
- Optional: qpdf (free command-line tool) for structural repairs
- Optional: Mutool (part of MuPDF) as an alternative to qpdf
- Optional: An online PDF signature tool if you prefer a GUI
Step 1: Diagnose the Signature Problem
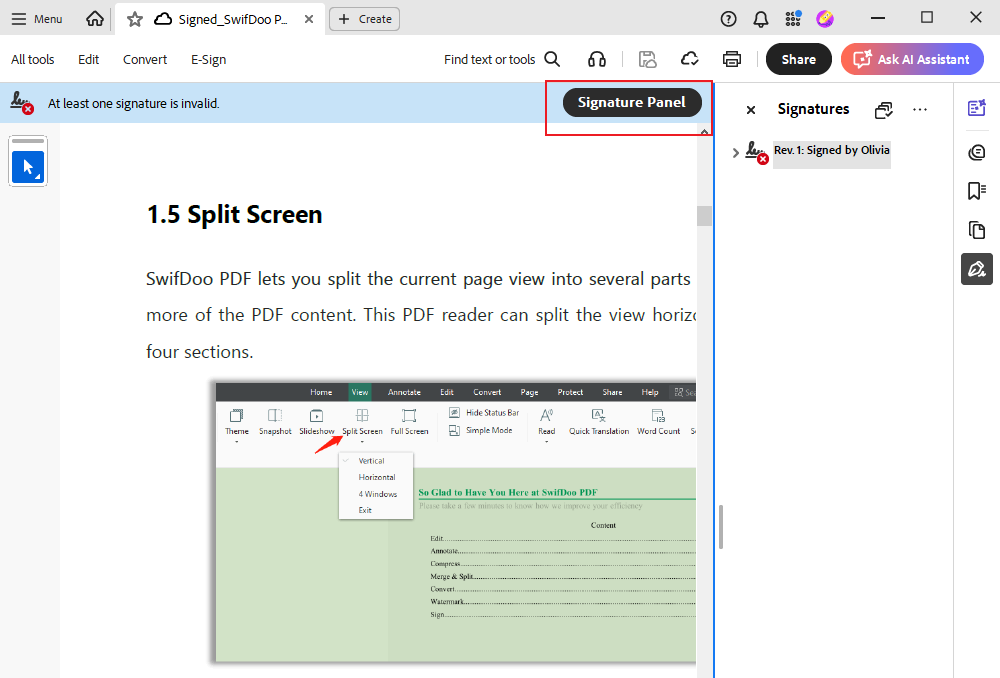
Open your PDF in Adobe Acrobat Reader. Look for the signature panel on the left. If you see a blue ribbon icon with a checkmark, the signature is valid. A red X or a yellow triangle means it’s broken or unknown. If the signature field is empty or missing, you’ll need to re-sign. Note any error messages—they’ll guide your next steps.
Step 2: Repair the Structure with qpdf
If the signature is corrupted due to PDF structure issues, use qpdf. Download it from sourceforge.net or install via package manager. Open a terminal and run: qpdf --linearize input.pdf output.pdf. This flattens and linearizes the PDF, often fixing signature problems. If that doesn’t work, try qpdf --qdf input.pdf temp.pdf && qpdf temp.pdf output.pdf to decompress and recompress. Check our detailed guide on repair pdf with qpdf for more options.
Step 3: Re-Sign the Repaired PDF
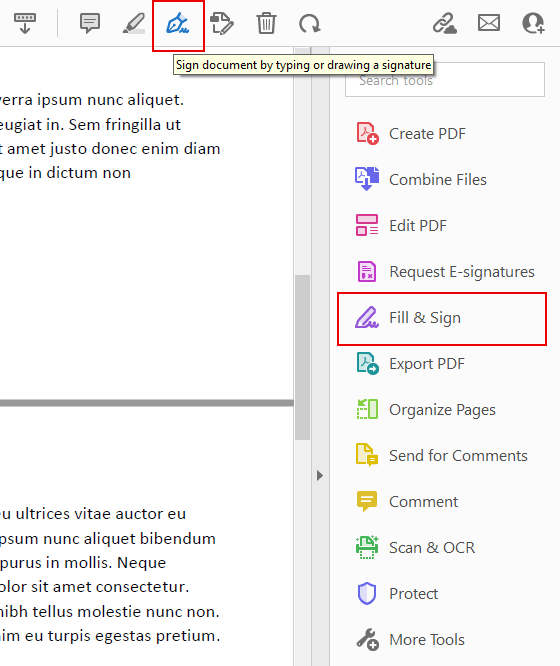
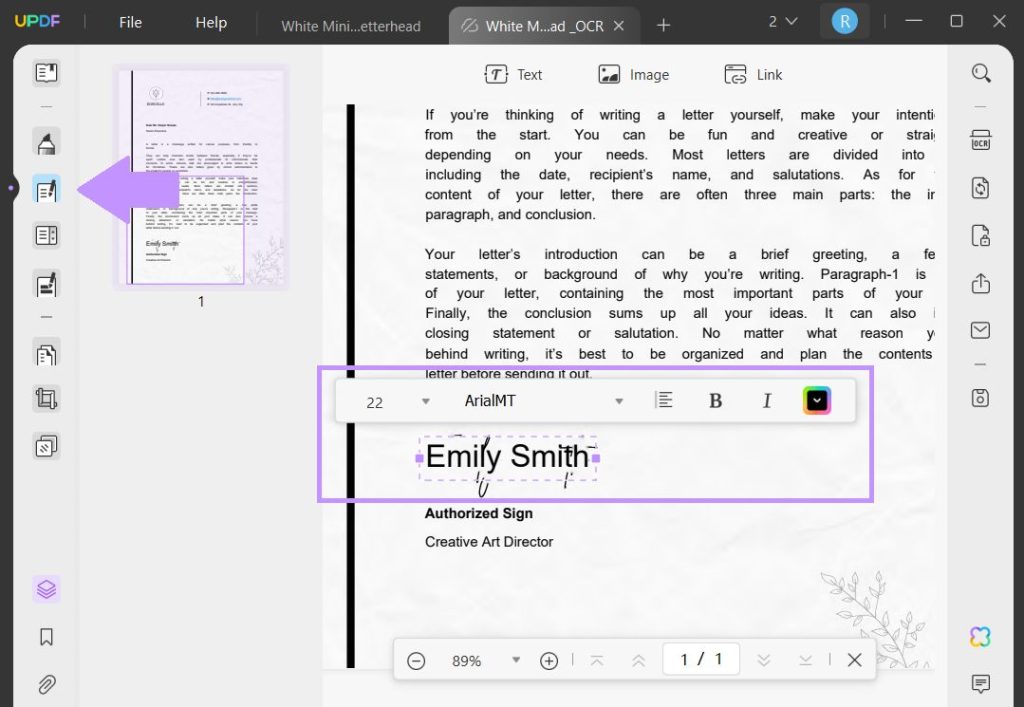
Now that the PDF structure is clean, re-sign it. Open the repaired PDF in Adobe Acrobat Reader. Click “Fill & Sign” in the right pane, then “Add Signature”. Choose to type, draw, or upload an image of your signature. Place it where the old signature was. For a digital certificate signature, use Adobe Acrobat Pro’s “Certificates” tool. If you don’t have Acrobat, a free pdf repair tool like PDFescape can also add signatures.
Step 4: Use Mutool as an Alternative
If qpdf doesn’t work, try Mutool. Run mutool clean input.pdf output.pdf to sanitize the file. Mutool is great at stripping corrupted data while preserving signatures. For advice on this, check our guide on repair pdf with mutool.
Step 5: Verify the Signature
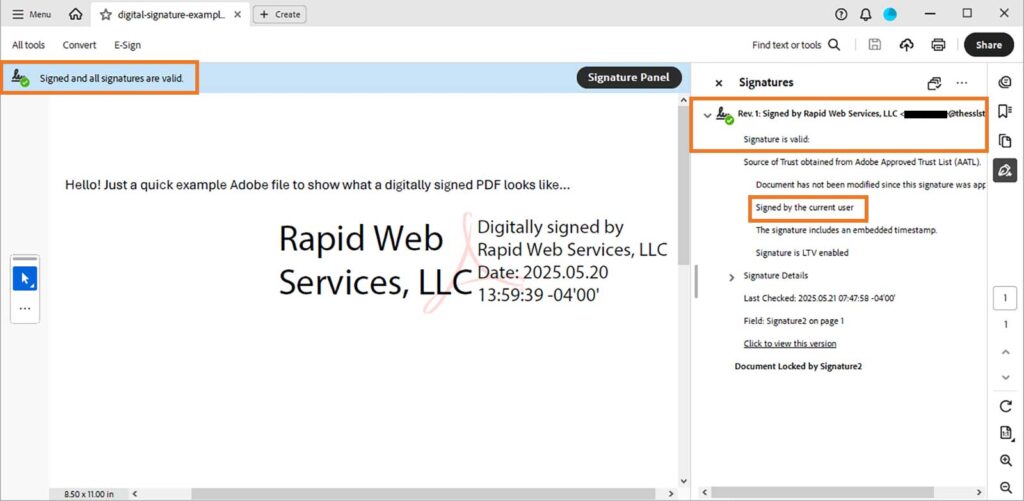
After re-signing, back up the file. Open it in Adobe Acrobat Reader and check the signature panel. You should see a blue ribbon and a valid timestamp. If you’re using a certificate, make sure it’s trusted. If the signature still shows issues, try flattening the file using qpdf’s linearize option again. Sometimes an fix optimized pdf process can interfere, so undo any optimization.
Common Pitfalls
- Using an online tool that strips signatures without warning. Always keep a backup.
- Forgetting to re-sign after repair. A repaired PDF without a signature is not valid.
- Ignoring certificate expiration. If your digital certificate expired, signatures will appear invalid even if the PDF is fine.
I accidentally used an optimizer that removed my signature. Following the qpdf linearize trick brought it back. Now I always keep a backup!
Sam K., forum user
Where to Next
Signature issues often go hand-in-hand with other PDF problems. If your file won’t open at all, check our guide on pdf cannot open repair. Or if you’re dealing with a damaged document from a disk error, see how to recover pdf after disk error. For everyday fixes, bookmark our main free pdf repair tool page for quick solutions.