So you optimized a PDF to make it smaller, and now it looks like garbage. Maybe the images are blocky, the fonts are missing, or some pages are just blank. Don’t panic — this happens more often than you’d think. This guide is for anyone who needs to fix an optimized PDF, whether you used a free online tool, Adobe Acrobat, or a command-line utility. By the end, you’ll know how to restore clarity, re-optimize properly, and pick the right settings so your PDF works without losing quality.
We’ll cover three main approaches: using Adobe Acrobat Pro (the most reliable), using the free open-source tool Ghostscript, and using online services for quick fixes. I’ll also point out common mistakes so you don’t end up making things worse. Let’s get that PDF back to its former glory.
What You’ll Need
- The optimized PDF file you want to fix
- A copy of the original pre-optimized PDF (if you have it – if not, that’s okay)
- Adobe Acrobat Pro (paid, but you can use a trial) OR Ghostscript (free, command-line) OR a trusted online PDF repair service (e.g., iLovePDF, PDF24)
- A computer with enough space to handle large files (optimization can be heavy)
Step 1: Check What Optimizations Were Applied
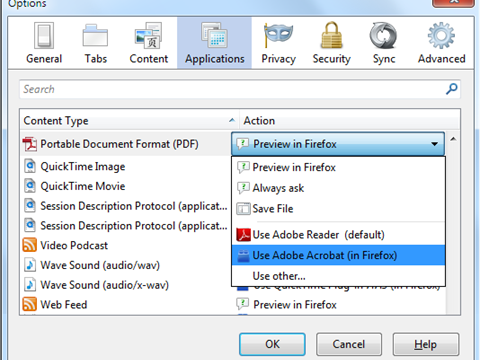
Before you start fixing, find out what the optimizer did. In Adobe Acrobat Pro, go to File > Properties > Description tab. Click ‘Additional Metadata’ and scroll through. Some tools embed a note like ‘Optimized by XYZ’. If you used an online service, note the settings you chose (e.g., ‘low quality’, ‘draft’). For Ghostscript, the command used often leaves a trace in the PDF’s metadata.
If you don’t know what was done, look at the symptoms. Blurry images mean over-compressed JPEGs. Missing or substituted fonts mean font subsetting went wrong. Blank pages often come from incorrect page box settings. Knowing the problem helps you pick the right fix.
Step 2: Re-Optimize with Better Settings in Adobe Acrobat Pro
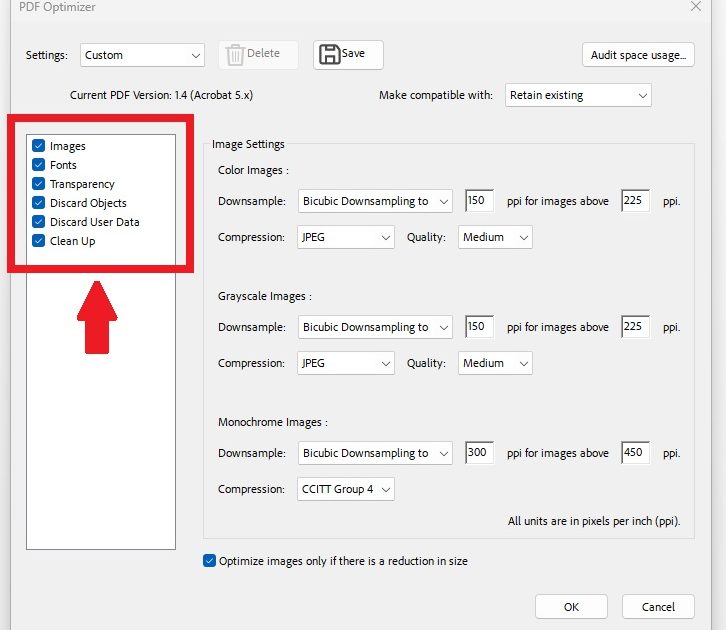
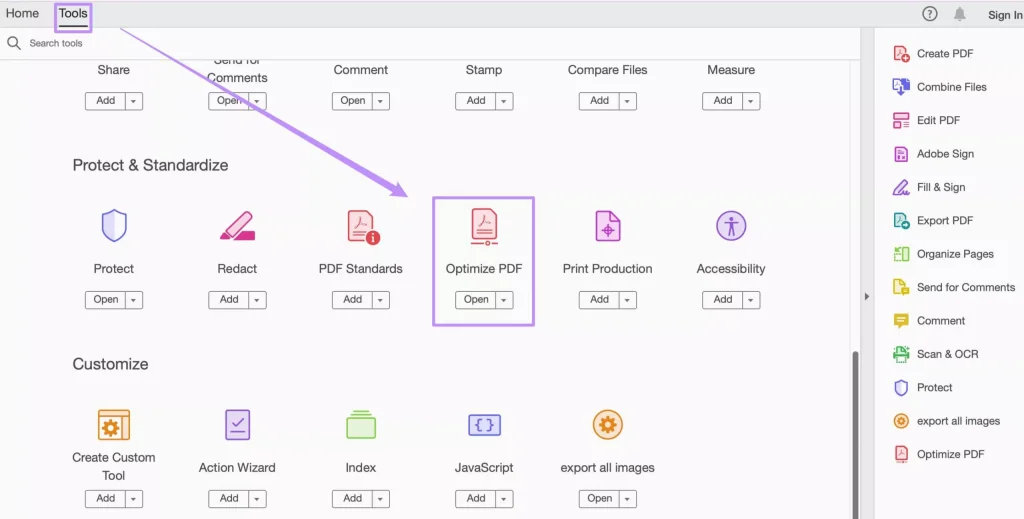
This is the most straightforward method. Open your broken PDF in Acrobat Pro. Go to File > Save As Other > Optimized PDF. In the dialog, click on ‘Audit Space Usage’ to see what’s bloated. Then adjust these settings:
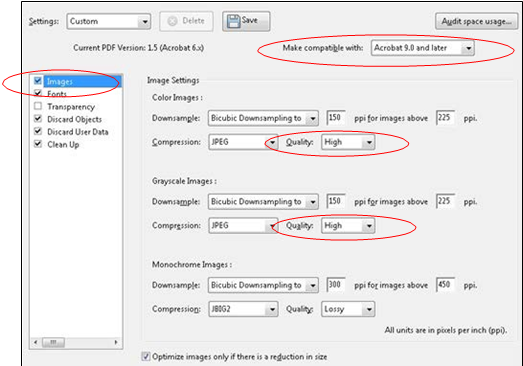
- Under ‘Images’, set Downsample to ‘High resolution’ (300 dpi for print, 150 for screen). Choose JPEG2000 as the compression format with high quality (e.g., 90–100%).
- Under ‘Fonts’, check ‘Subset all fonts’ but don’t remove hidden fonts. Tick ‘Embed all fonts’ if they were stripped.
- Under ‘Clean Up’, avoid removing objects like form fields or metadata unless you’re sure.
- Uncheck ‘Fast Web View’ if it causes issues.
Click OK and save with a new name (e.g., ‘fixed_optimized.pdf’). Test the output – if text is still garbled, try the next step.
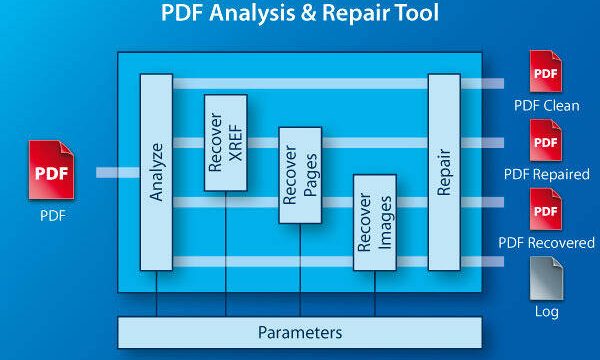
Step 3: Use Ghostscript to Rebuild the PDF
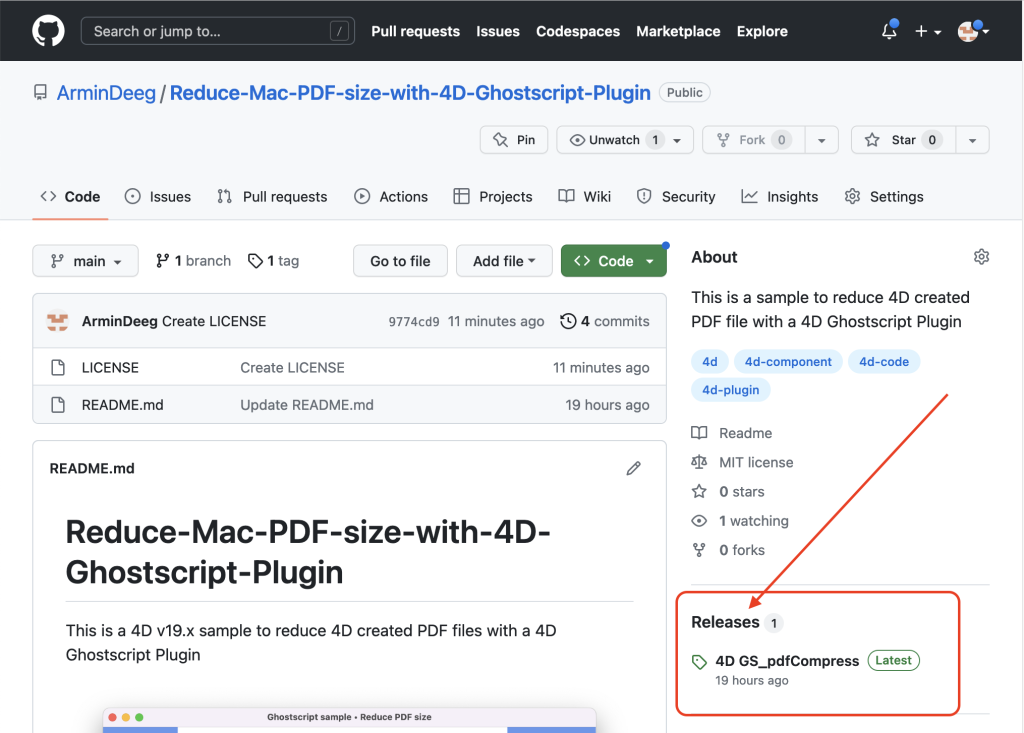
Ghostscript is a powerful open-source PDF interpreter. It can often fix corrupt optimizations. Install Ghostscript from ghostscript.com. Then open a terminal (Command Prompt on Windows, Terminal on Mac/Linux) and run this command:
gswin64c -o fixed.pdf -sDEVICE=pdfwrite -dPDFSETTINGS=/prepress -dCompatibilityLevel=1.7 input_optimized.pdf
Windows (use ‘gs’ on Mac/Linux)
The flag ‘-dPDFSETTINGS=/prepress’ tells Ghostscript to use high-quality output. You can also try ‘/printer’ or ‘/default’. If the PDF has many embedded fonts that are broken, add ‘-dEmbedAllFonts=true’. If images are too compressed, add ‘-dDownsampleColorImages=false’ and similar for gray and mono images.
After running, check the new ‘fixed.pdf’. If it looks better, you’re done. If not, try different settings like ‘-dPDFSETTINGS=/printer’ or remove the compression flags entirely.
Step 4: Try an Online PDF Repair Service
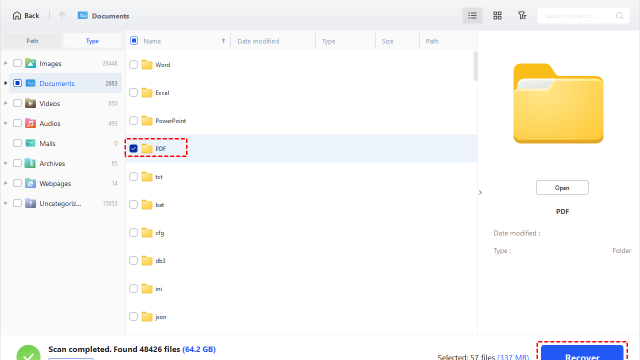
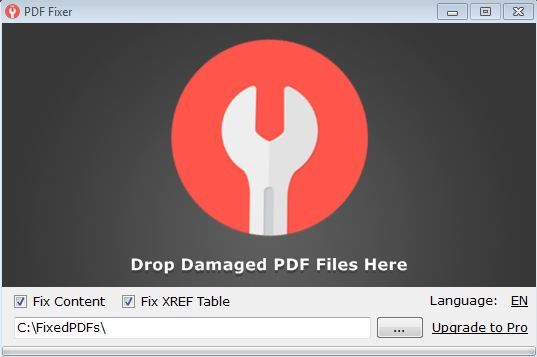
If you don’t have Acrobat or command-line comfort, use an online service that specializes in fixing PDFs. My favorite is PDF24’s ‘PDF Repair’ tool (free and encrypted). Upload your file, let it process, and download the result. It often reverses aggressive optimization by re-encoding images and fonts.
Be careful: some free online services degrade quality further or add watermarks. Always download the repaired file and check it locally. If the fix fails, consider using the ‘fix PDF online free‘ option and then follow up with a manual quality check.
Step 5: Verify and Adjust
Open the repaired PDF and zoom in on a few key pages. Look for: text sharpness (no pixelation around letters), image clarity (no blocky artifacts), and page count (all pages present). If you see blank pages, that could be a separate issue – we have a guide on how to handle when a ‘PDF file shows blank pages‘.
If the file is still too large, you can re-optimize with a lighter touch – e.g., set image resolution to 150 dpi for screen use. But always keep a copy of the repaired high-quality version first.
Common Pitfalls
- Over-optimizing again: Don’t run the same aggressive optimizer twice in a row. You’ll lose irreversible data. Always work from a copy.
- Ignoring metadata: Some optimizers strip important document properties. If you rely on metadata, re-embed it after repair. Tools like Adobe Acrobat Pro can restore it.
- Using online services for sensitive data: Uploading confidential PDFs to free sites can risk leaks. Use Ghostscript locally or a trusted paid service.
Where to Next
If your optimized PDF still feels like a lost cause, you may need to ‘extract text from corrupted PDF‘ and rebuild from scratch. Or if the optimization caused severe damage, check out our comprehensive ‘adobe pdf repair‘ guide for advanced techniques. And for those who prefer free tools, the ‘pdf repair open source‘ article covers more Ghostscript options. Happy fixing!