So you created a PDF from Word, but when you opened it—blank pages, missing images, funky fonts, or a full-on error message. Frustrating, right? You’re not alone. This guide is for anyone who’s exported a Word doc to PDF and ended up with a mess. By the end, you’ll have a working PDF that looks exactly like your original document—without losing your mind.
We’ll start with the easiest fix (re-exporting from Word) and work our way up to free online tools, desktop apps, and manual tweaks. No expensive software needed, just a bit of patience and the steps below.
What You’ll Need
- The original Word file (.docx or .doc) – if you still have it, this is your best bet.
- A stable internet connection – for online repair tools.
- A free PDF repair tool – I recommend PDF24, a top-tier best free pdf repair tool.
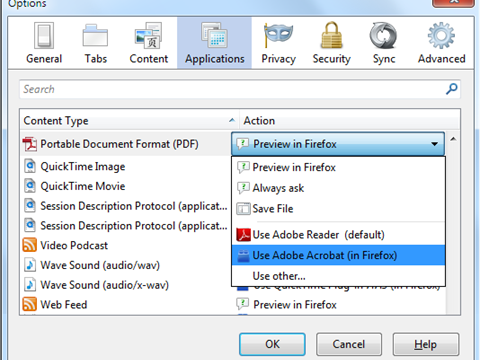
- Optional: Adobe Acrobat Reader (free) or a similar PDF viewer.
Step 1: Re-Export from Word
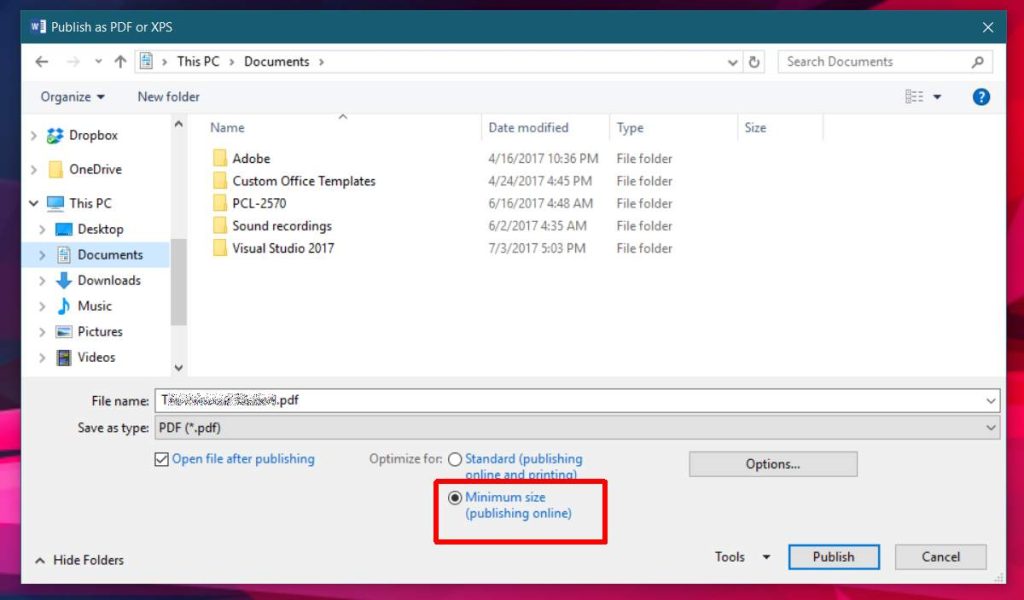
If you still have the original Word document, try exporting it again. Corruption often happens during the conversion, so a fresh export can fix it. In Word, go to File > Export > Create PDF/XPS. Make sure you choose ‘Standard’ optimization (not ‘Minimum size’) to preserve fonts and images. If your PDF looked weird because of missing fonts, this step alone might solve it.
If the re-export works, great! If not, or if you don’t have the original Word file, move to the next step.
Step 2: Use an Online PDF Repair Tool
Free online tools can fix many common issues. One of the best is PDF24 (you can repair pdf in browser directly). Go to the PDF24 website, upload your corrupted PDF, and click ‘Repair’. The process is automated and usually takes just a few seconds. Download the repaired file and check it.

If the online tool gives you a ‘PDF EOF marker not found’ error, don’t panic. That’s a common issue that can often be fixed with a desktop tool (next step).
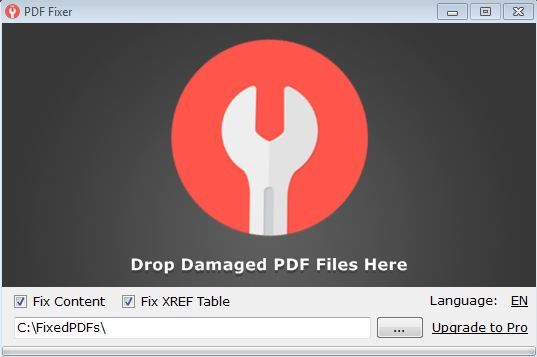
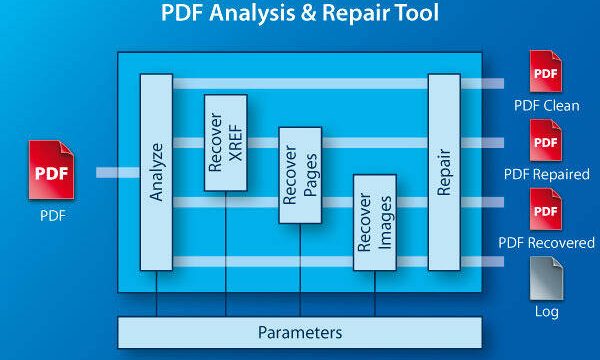
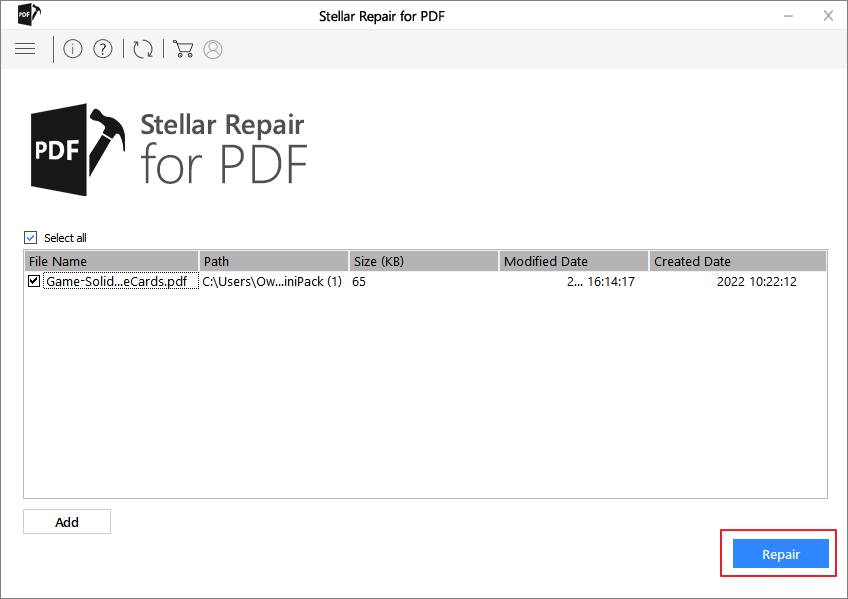
Step 3: Use a Desktop PDF Repair Tool
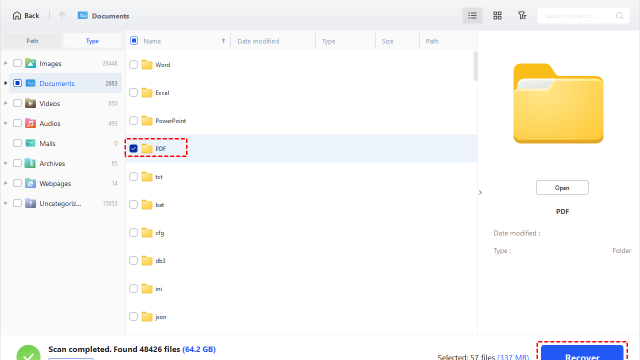
For tougher cases, try a desktop tool like Adobe Acrobat’s built-in repair function. Open Acrobat, go to File > Open, select your PDF, and when it prompts you to repair, click ‘Yes’. Alternatively, use the ‘Save As Other > Optimized PDF’ option and reduce the file version. If you don’t have Acrobat, free tools like PDF24 also have a desktop version. This method can recover text from corrupted pdf when other methods fail.
If the file is still broken, you might have a corrupted image or font. In that case, you may need to fix pdf eof marker not found by using a hex editor, but that’s advanced. Try the next step first.
Step 4: Manually Fix Minor Issues
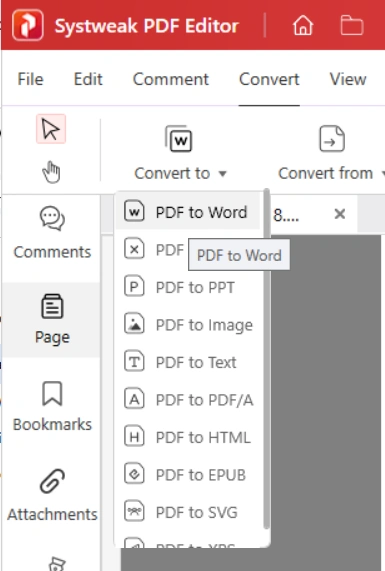
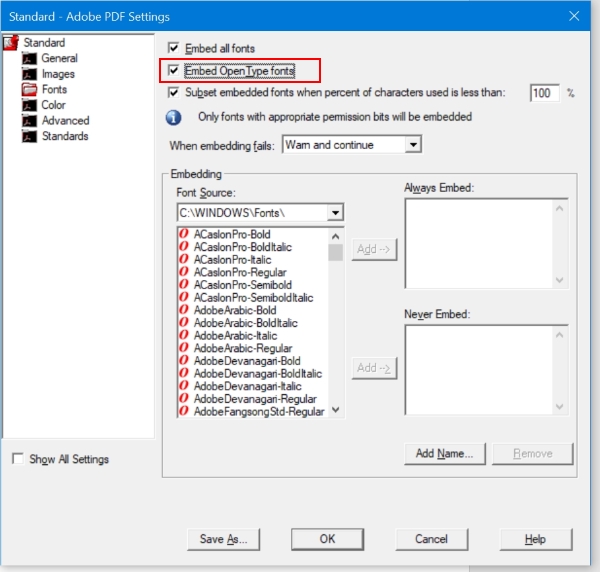
Sometimes the PDF is mostly fine but has tiny glitches, like missing fonts or misaligned images. To repair pdf fonts, you can embed them from within Word before converting, or use a tool like PDF24’s PDF editor to replace missing fonts. For images, try re-saving the PDF as a Word document (using Adobe Acrobat’s export) and then converting back to PDF.
If all else fails, you can extract the text and images and rebuild the PDF from scratch. That’s a last resort, but it works.
Common Pitfalls
- Not saving the original Word file – once it’s gone, you lose the easiest fix. Always keep the source file until you’re sure the PDF is perfect.
- Using unreliable online tools – some sites compromise privacy or add watermarks. Stick to trusted names like PDF24 or Adobe.
- Ignoring font warnings – if Word warns about missing fonts during export, install them first. Otherwise, your PDF will look different.
Where to Next
Now that your PDF is repaired, you might want to explore other fixes. Check out our guide on how to fix a corrupted PDF for free with PDF24 if you want a deeper dive into that tool. Or, if you’re dealing with a damaged file from another source, see how to recover text from corrupted pdf for more advanced techniques.