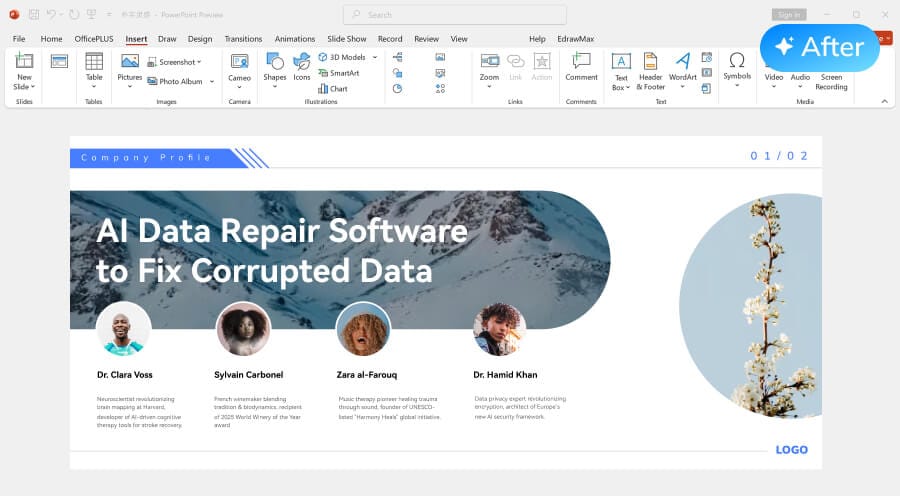
So you poured hours into a PowerPoint presentation, hit ‘Export as PDF,’ and got a file that looks like a toddler played with clip art. Text is blurry, fonts are missing, links are dead, and the file size is bigger than your music library. You’re not alone—this happens to everyone who exports from PowerPoint. This guide is for anyone who needs to turn that ugly PDF back into a clean, professional document. By the end, you’ll have a crisp, functional PDF that looks exactly like your original slides.
The good news: most issues are fixable without starting from scratch. Whether it’s a simple re-export with the right settings, embedding fonts, or using a dedicated repair tool, these steps will cover the common problems. We’ll also tackle broken hyperlinks and bloated file sizes. If your PDF is completely unreadable or blank, don’t worry—we’ve got you covered with advanced repair methods too.
What You’ll Need
- Your original PowerPoint file (.pptx or .ppt)
- The problematic PDF exported from PowerPoint
- A PDF editor (Adobe Acrobat Pro, Foxit PhantomPDF, or free alternatives like PDF-XChange Editor)
- Optional: a dedicated PDF repair tool (e.g., Adobe Acrobat’s built-in fix or a third-party utility)
- Optional: an online AI-powered PDF repair service (for severe corruption)
Step 1: Re-export with Correct Settings
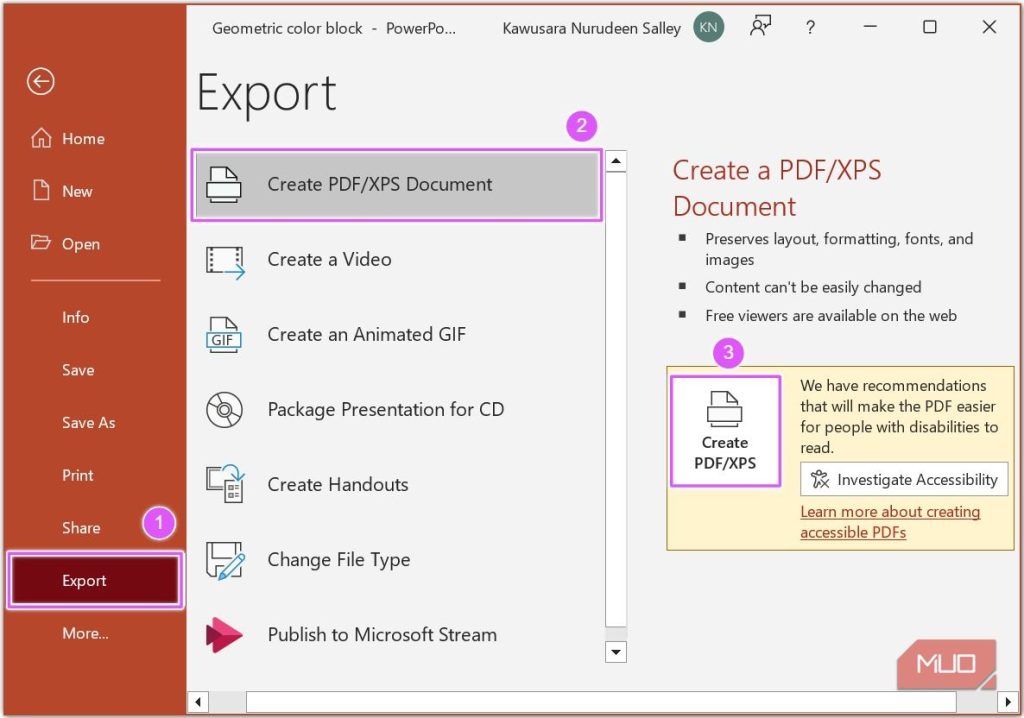
This is the most reliable fix: re-export your presentation with proper settings. Open your PowerPoint file, go to File > Export > Create PDF/XPS. In the dialog, click Options. Uncheck ‘ISO 19005-1 compliant (PDF/A)’ unless you need long-term archiving (it can strip features). Check ‘Keep fonts’ and ‘High quality’ for text. For images, set the resolution to 220 dpi or higher. Click OK, then Publish. Compare the new PDF to your old one—you should see immediate improvements.
Step 2: Embed Fonts and Use High Quality
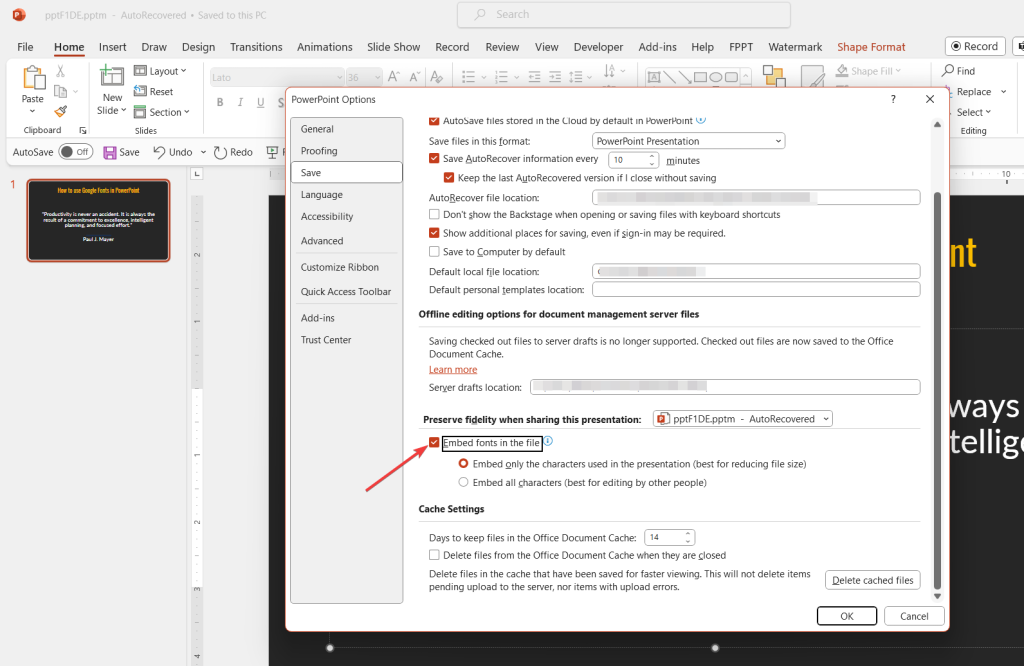
If text still looks wrong, you probably didn’t embed fonts. In PowerPoint, go to File > Options > Save. Check ‘Embed fonts in the file’ and choose ‘Embed all characters at best for reducing file size.’ This ensures your custom fonts travel with the PDF. Then re-export as in Step 1. For presentations with lots of images, also set the print quality to ‘High’ (220 dpi minimum). These changes alone often solve missing characters and blurry text. If your PDF is still a mess, you may need a more advanced broken PDF repair approach.
Step 3: Repair Using a Dedicated Tool
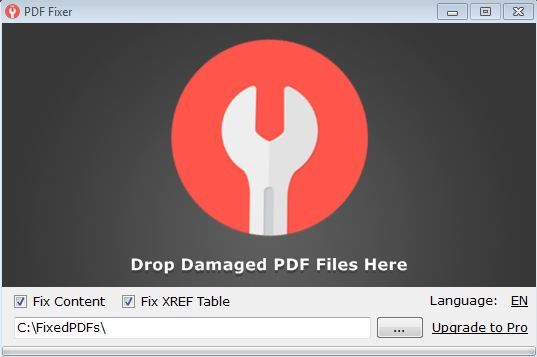
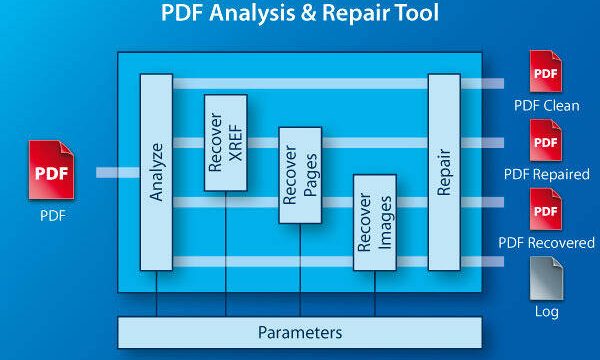
When re-exporting isn’t an option (maybe you lost the original PPT), use a PDF repair tool. Adobe Acrobat Pro has a built-in ‘Save As Optimized PDF’ that can fix many issues: open the broken PDF, go to File > Save As Other > Optimized PDF. In the dialog, under ‘Make compatible with,’ select the latest version. Under ‘Images,’ set downsampling to 300 dpi. Under ‘Fonts,’ ensure all fonts are embedded. Click OK. This often repairs structure and reduces file size. For Windows users, our dedicated PDF repair for Windows guide covers third-party tools like Foxit or SysTools. For severe corruption, try a corrupted PDF file recovery service.
Step 4: Fix Broken Hyperlinks
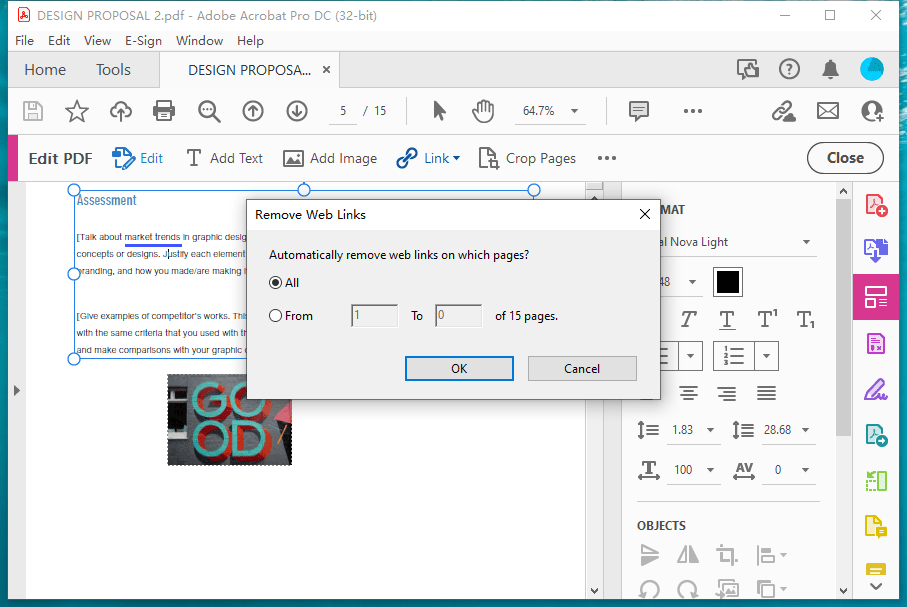
PowerPoint exports often break hyperlinks—clickable URLs or internal slide links become plain text or dead. In your PDF editor (e.g., Adobe Acrobat), open the Links panel (View > Show/Hide > Navigation Panels > Links). Select a broken link, right-click, and choose ‘Properties.’ Update the URL or set it to ‘Invisible’ if the original was invisible. Repeat for all links. To add missing links, use the ‘Link’ tool and draw a rectangle over the text. This step is tedious but ensures your PDF is interactive again. If your PDF appears blank instead, you might need to fix a blank PDF first before tackling links.
Step 5: Reduce File Size if Needed
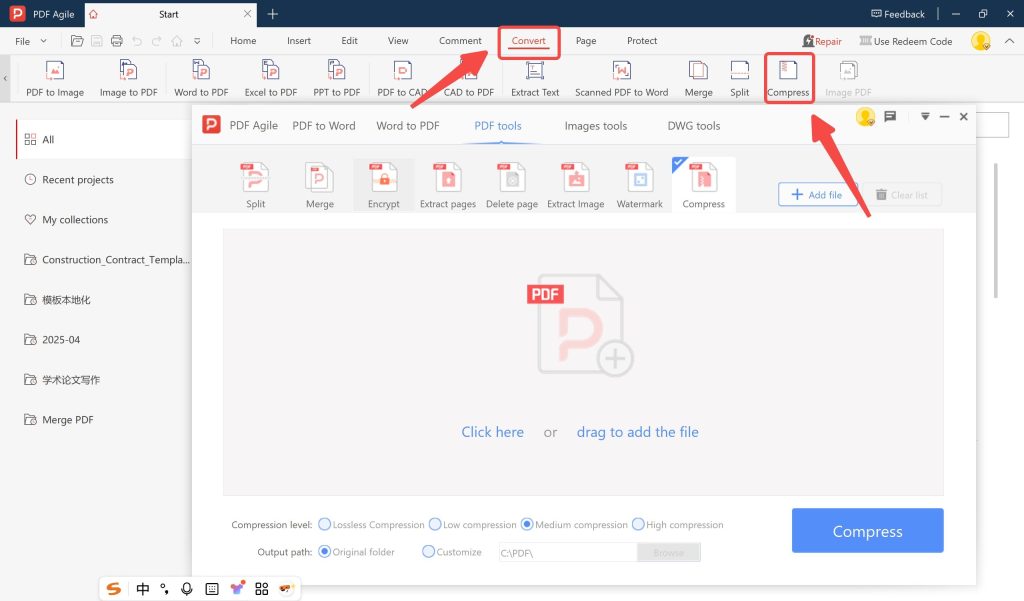
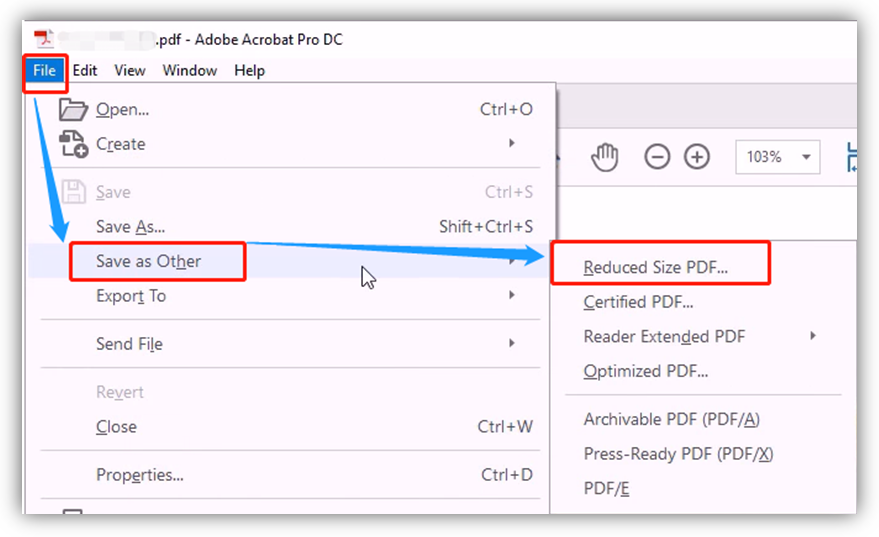
PowerPoint PDFs are often massive because they embed high-res images and fonts unnecessarily. Use a PDF compressor to shrink them. In Adobe Acrobat, go to File > Save As Other > Reduced Size PDF. Choose compatibility for Acrobat 6.0 or later. This strips metadata and compresses images. Alternatively, use online tools like Smallpdf or ILovePDF—but they may reduce quality. For advanced control, use Acrobat’s Preflight tool to run a ‘PDF/A compliance’ check, which can also repair structural issues. If your file structure is corrupted, a dedicated repair PDF structure tool may be needed.
Common Pitfalls
- Not embedding fonts: This causes missing or replaced characters when the PDF is opened on a system without those fonts. Always embed fonts in PowerPoint before exporting.
- Using low-resolution export: PowerPoint’s default export often sets image resolution to 150 dpi or less. Always manually set it to 220 dpi or higher in the Options dialog.
- Forgetting to check hyperlinks after conversion: PowerPoint-to-PDF export frequently breaks links. Always open the PDF and test all links before distributing.
Where to Next
If your PDF is still a mess after these steps, it may be beyond a simple fix. Check out our guides on broken PDF repair for severe corruption, or corrupted PDF file recovery for files that won’t open at all. For Windows users, our PDF repair for Windows guide has specific tool recommendations. And if your output is completely blank, our fix a blank PDF tutorial can help. Good luck, and may your slides never look like clip art again!