Ever opened a PDF only to see garbled text, missing pages, or a ‘file is damaged’ error? It happens more often than you’d think. If you’re dealing with a corrupted PDF and don’t want to lose important data, a dedicated PDF repair app can save the day. This guide is for anyone who needs to recover a broken PDF fast—no technical background required. By the end, you’ll know how to choose, run, and use a PDF repair tool to get your document back in shape.
We’ll walk through the entire process from start to finish, including what to look for in a repair app, how to handle tricky cases like password-protected files, and what to do if the repair doesn’t go as planned. Whether you need to recover a single PDF or tackle multiple files at once, this step-by-step guide has you covered.
What You’ll Need
- A Windows or Mac computer
- A corrupted PDF file (or a copy of it)
- A PDF repair app (we’ll use a popular free trial version for demo purposes)
- Optional: the original file password if it’s encrypted
- A few minutes of patience
Step 1: Download and Install a PDF Repair App
Start by picking a reliable PDF repair app. Look for tools that support batch PDF repair so you can fix multiple files at once. Avoid sketchy freeware that might install malware. We recommend well-known options like Stellar Repair for PDF or SysTools PDF Repair. Download the installer from the official website and run it. Follow the on-screen instructions to complete the installation.

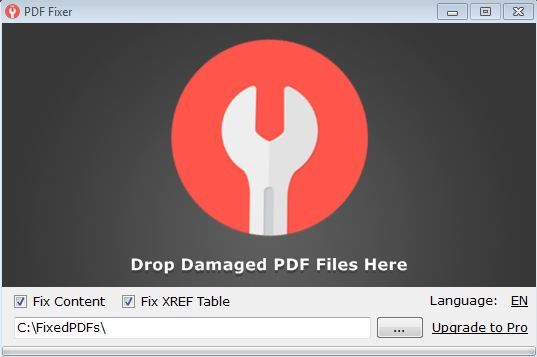
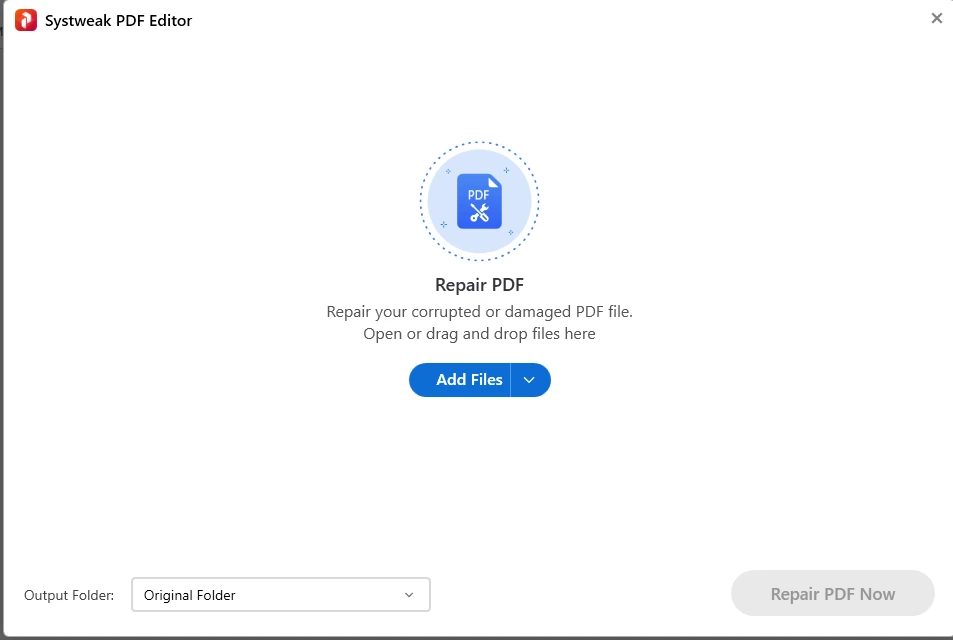
Step 2: Add the Corrupted PDF File
Open the PDF repair app. You’ll typically see a clean interface with an ‘Add File’ or ‘Select PDF’ button. Click it and navigate to the location of your corrupted PDF. Select the file and confirm. Some apps let you drag and drop files directly. If you have multiple files, you can add them all at once—especially useful if you need to batch PDF repair.
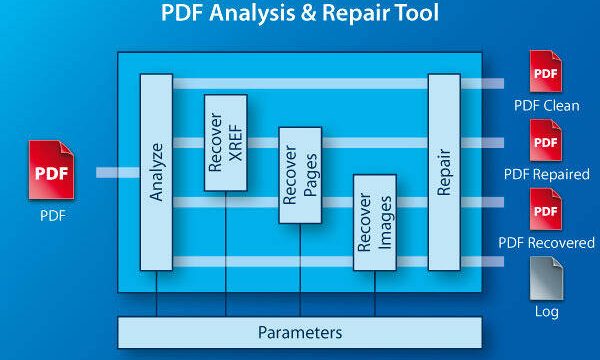
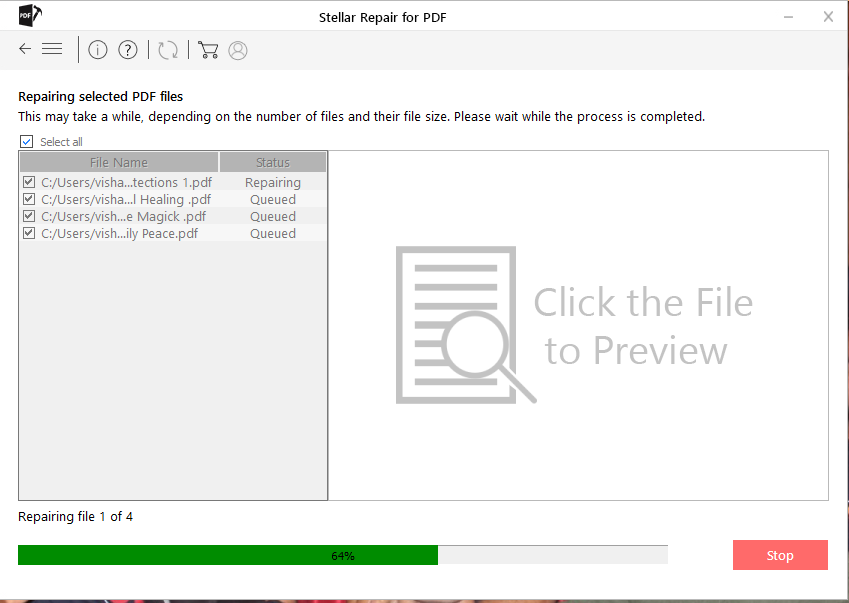
Step 3: Start the Repair Process
Once your file is loaded, click the ‘Repair’ or ‘Start’ button. The app will scan the PDF, identify corruption markers, and attempt to fix them. This can take a few seconds to a couple of minutes depending on file size and damage level. You’ll see a progress bar. Don’t close the app during this phase—let it complete.
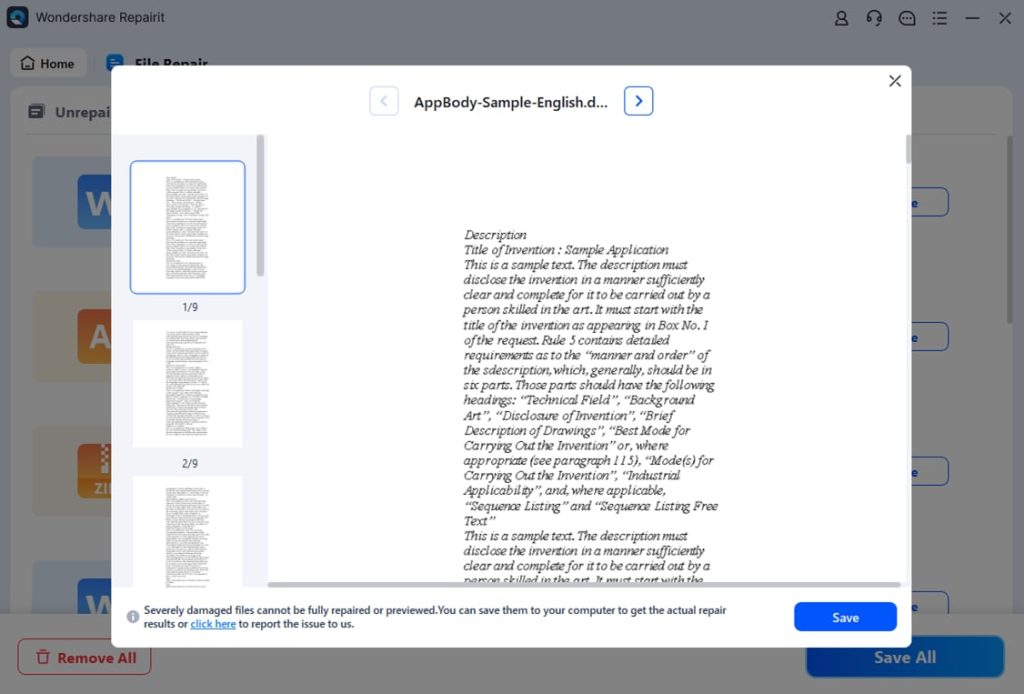
Step 4: Preview and Save the Repaired PDF
After scanning, most apps offer a preview of the recoverable content. Check if pages, text, and images look correct. If you’re satisfied, choose a save location. It’s wise to save as a new file (e.g., ‘repaired_original.pdf’) to avoid overwriting. If the file was encrypted, you may need to enter the password at this stage—our guide to repair encrypted PDF covers that in detail.
Common Pitfalls
- Using unreliable free tools: Some free PDF repair apps claim to fix everything but actually damage the file further or inject ads. Stick to reputable software with trial versions.
- Overwriting the original file: Always save the repaired version with a new name. If the repair fails, you can try another tool without losing the original corrupted file.
- Ignoring password protection: If your PDF is password-protected and you don’t have the password, most repair apps can’t open it. Check our guide for repair encrypted PDF for solutions.
Where to Next
You’ve successfully repaired your PDF using a dedicated app. But PDF issues don’t stop there. If the repaired file still has garbled text, check out how to fix garbled PDF. For missing or scrambled pages, our guide to fix PDF page errors can help. And if you frequently deal with damaged PDFs, learning batch PDF repair will save you tons of time. Finally, if the corruption happened after saving, you might need to repair PDF after file corruption using a different approach.