If you’ve ever had a single corrupted PDF, you know the frustration. But when you have dozens—emails, contracts, reports—it’s a nightmare. Batch PDF repair lets you fix multiple files at once, saving hours. This guide is for anyone dealing with multiple broken PDFs, whether from a failing hard drive, botched file transfers, or software crashes.
By the end, you’ll know how to use free and low-cost tools to repair entire folders of corrupted PDFs automatically. You’ll also learn what to watch out for so you don’t accidentally make things worse. Let’s dive in.
What You’ll Need
- A computer (Windows, Mac, or Linux)
- A collection of corrupted PDF files
- A batch PDF repair tool (we’ll discuss options)
- Backup copies of your files (critical!)
Step 1: Prepare Your PDF Files
Gather all the problematic PDFs into a single folder. Make a backup copy of the folder. Without a backup, a failed repair could permanently damage your files. Check for file extensions; sometimes they get changed. If you need to verify which files are truly corrupted, read our guide on how to check if a PDF file is corrupted.
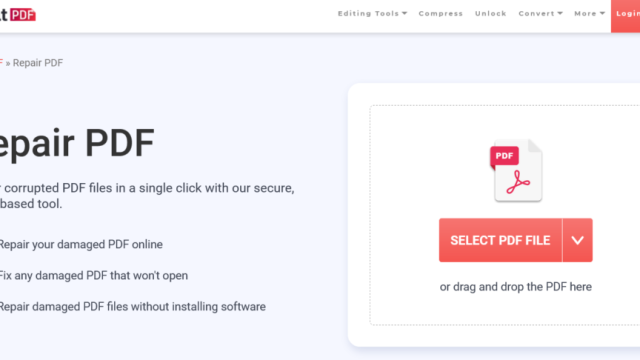
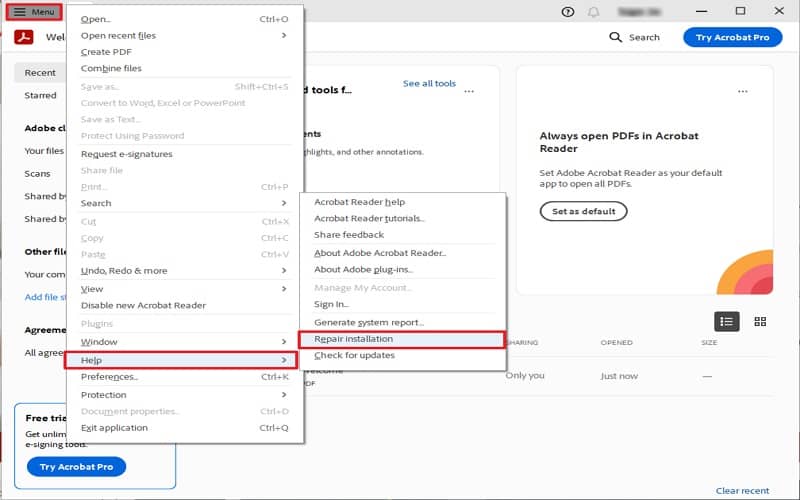
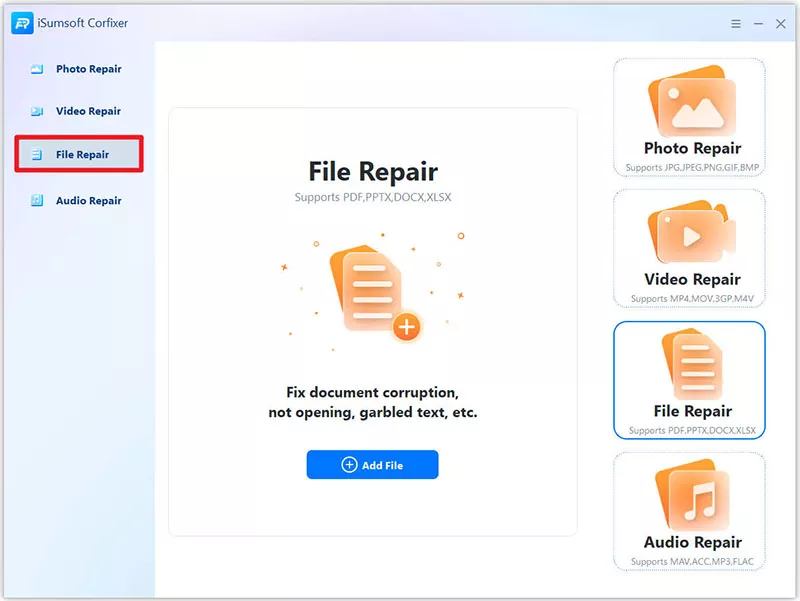
Step 2: Choose a Batch Repair Tool
Several tools can handle batch repair. For free options, consider PDFsam (PDF Split and Merge) which has a repair module, or online services like iLovePDF for smaller batches. For heavy-duty work, Adobe Acrobat Pro offers a batch processing feature. If you want a fully automatic solution, check out our guide on how to repair PDF automatically.
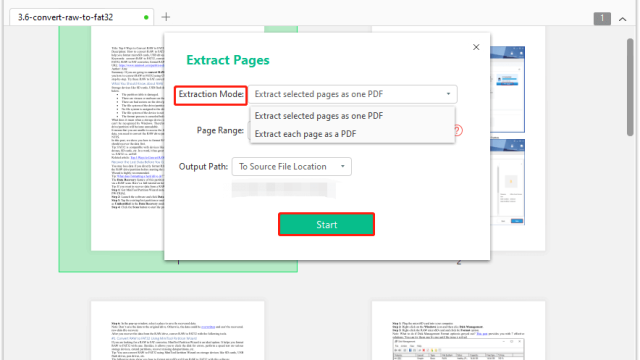
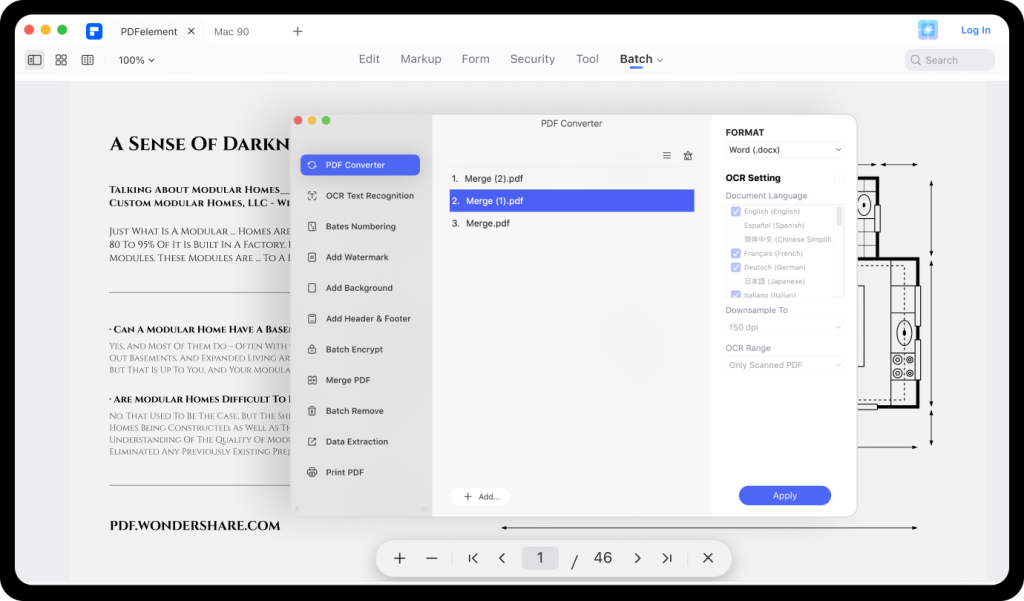
Step 3: Set Up the Repair Settings
Open your chosen tool and select the folder containing your PDFs. Configure the repair options—usually there’s a ‘repair’ or ‘fix’ mode. Most tools have default settings that work well. Apply the same settings to all files unless you have specific needs. For individual file fixes, you might refer to our guide on the best way to fix a corrupted PDF.
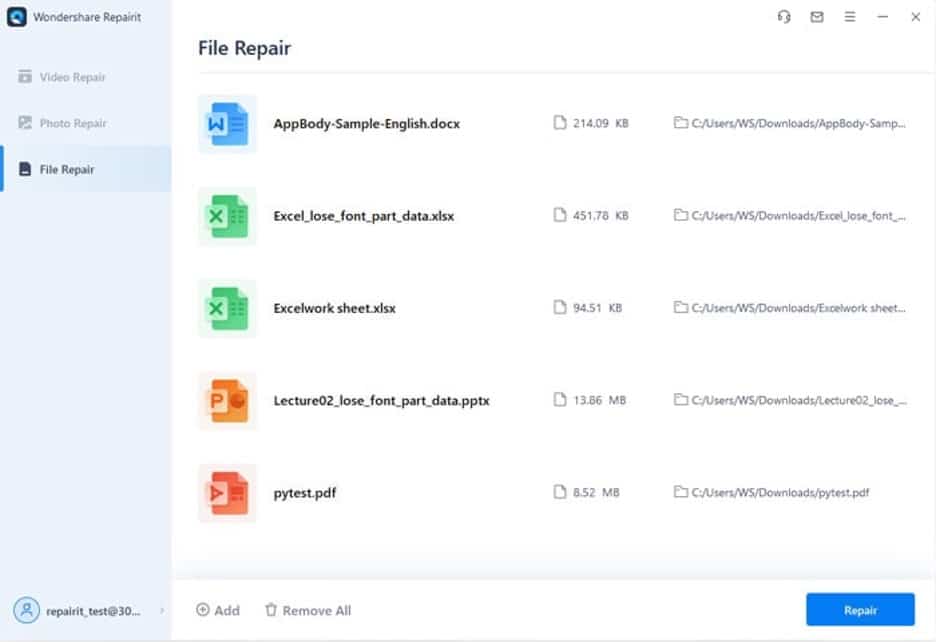
Step 4: Run the Batch Repair
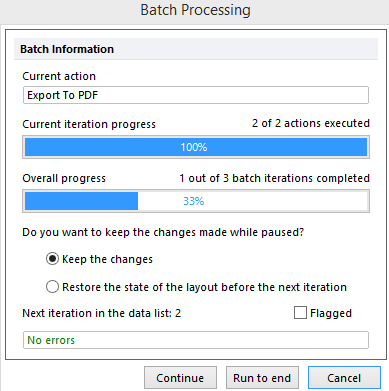
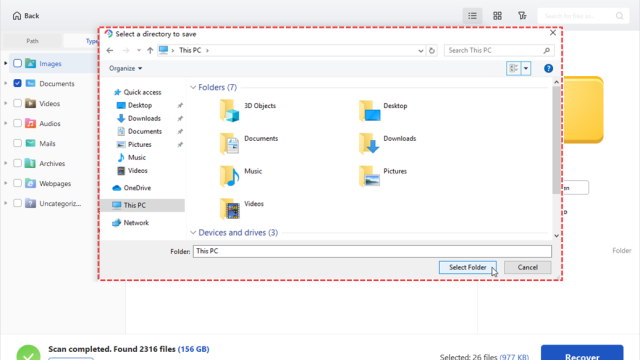
Click ‘Start’ or ‘Repair All’. The tool will process each file, showing a progress bar. Depending on the number and size of files, this may take a few minutes. Do not close the program or turn off your computer during this process. Once complete, the tool will often save repaired copies to a new folder or overwrite originals (if you allowed that—preferably not).
Step 5: Verify the Repaired Files
Open a few of the repaired PDFs to ensure they display correctly. Check for missing pages, garbled text, or other issues. If some files still have problems, you may need to try a different tool or manually repair them using specialized methods like recovering text from a damaged PDF. For files corrupted after a save, see our guide on how to repair a PDF corrupted after save.
Common Pitfalls
- Not creating backups. Always keep a separate copy before batch repairing.
- Using unreliable free tools that may damage files further. Stick to reputable software.
- Assuming all files can be fixed. Some severe corruption may require manual intervention; don’t be discouraged if a few don’t recover.
Where to Next
If you still have stubborn files, try our guides on recovering damaged PDFs or using command-line tools. And remember, regular backups prevent most PDF corruption headaches.