Ever tried to email a PDF only to get a ‘file too large’ error? Or waited forever for a PDF to upload to a website? You’re not alone. Large PDFs are annoying, but fixing them is easier than you think. This guide is for anyone—whether you’re a student, office worker, or just someone dealing with a bloated document. By the end, you’ll have a much smaller PDF that still looks great and works perfectly.
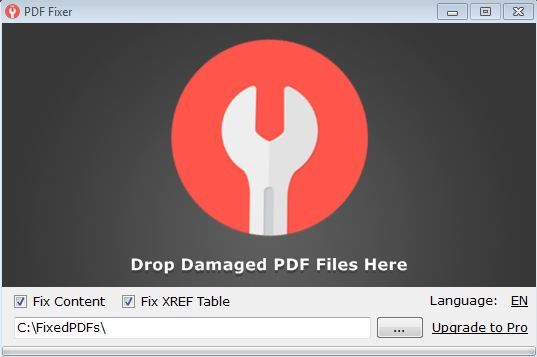
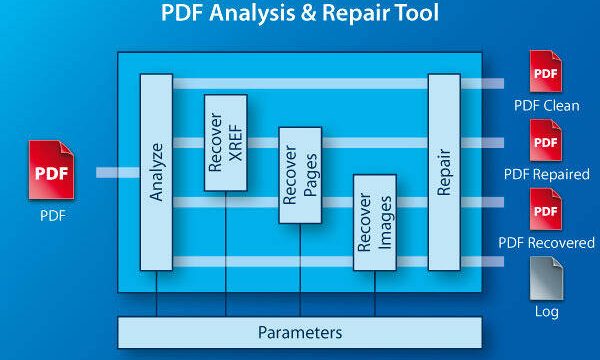
We’ll cover five practical steps: checking what’s making your PDF huge, compressing images, removing junk objects, re-saving with reduced settings, and using dedicated compressors. If your PDF is also damaged, you might need to repair PDF file first before sizing down. Let’s get your PDF in shape.
What You’ll Need
- A copy of your large PDF file (back it up!)
- Adobe Acrobat (free trial or full version) or a free alternative like PDF24
- Ghostscript (optional, for command-line compression)
- Internet connection if you plan to use online compressors
Step 1: Check What’s Making Your PDF Large
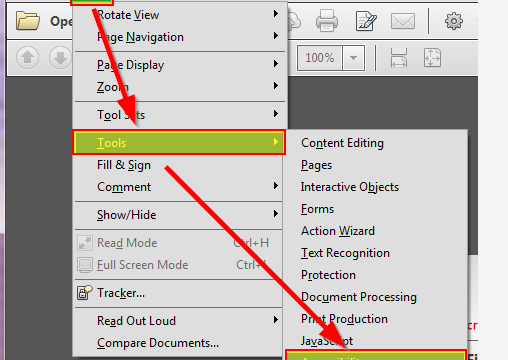
Before you start shrinking, find out what’s eating up space. In Adobe Acrobat, open the PDF and go to File > Properties > Description. Look at ‘Page Size’ and ‘Tagged PDF’ info. Better yet, use Tools > Print Production > Preflight and run a ‘Document Size Analysis’. This shows object counts, image resolution, and font embedding. Common culprits: high-res images, embedded fonts, and multiple layers.

Step 2: Compress Images (The Biggest Culprit)
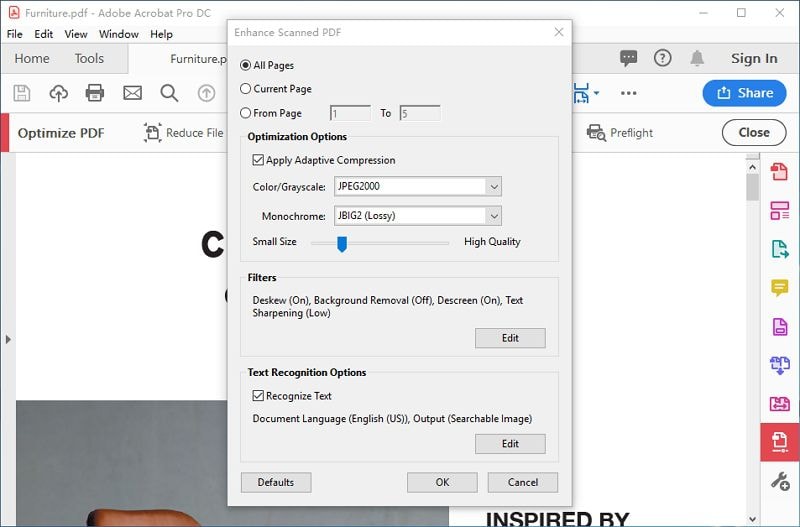
Images usually account for most of the size. In Acrobat, go to Tools > Optimize PDF. Click ‘Discard Objects’ and then ‘Image Compression’. Reduce image resolution to 150 DPI for screen viewing or 300 DPI for print. Choose JPEG compression with quality around 80%. Preview the result. For a deeper dive into optimizing images, see our guide on repair PDF compression. If you’re using an online tool, look for ‘compress images’ settings.
Step 3: Remove Unnecessary Objects
PDFs often carry extra baggage: bookmarks, annotations, form fields, alternate images, and embedded fonts you never use. In the same Optimize PDF dialog, click ‘Discard Objects’ and check ‘Remove hidden layer content, ‘Remove embedded thumbnails, and ‘Remove document metadata. Also, under ‘Fonts’, unembed any fonts that aren’t needed. This can shave off megabytes.
Step 4: Re-Save as a Reduced Size PDF
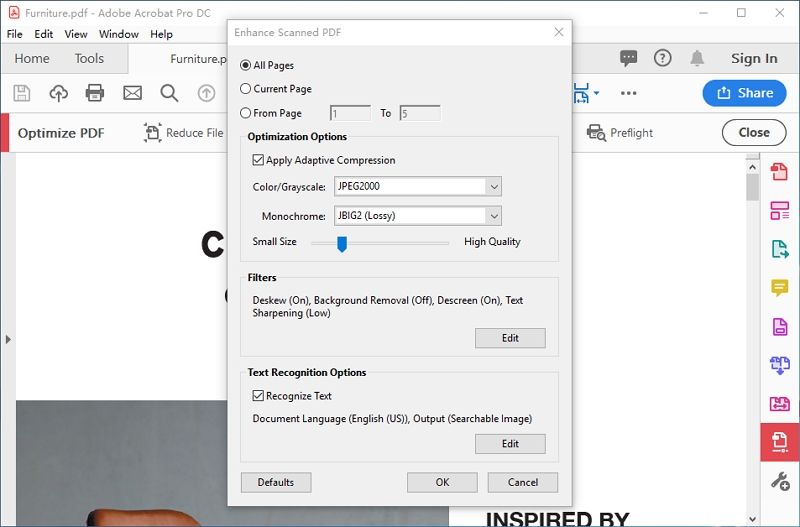
The quickest fix: In Acrobat, go to File > Save As Other > Reduced Size PDF. Choose compatibility (Acrobat 10 or later works best) and click OK. This applies a built-in compression profile. For command-line control, use Ghostscript. Run: gs -sDEVICE=pdfwrite -dPDFSETTINGS=/screen -dNOPAUSE -dBATCH -dQUIET -sOutputFile=output.pdf input.pdf. If you’re on Windows and run into trouble, our tutorial on how to repair PDF on Windows can help. Command-line fans can use our Ghostscript Repair PDF instructions.

Step 5: Use a Dedicated PDF Compressor (Online or Desktop)
If you want a no-fuss solution, try tools like Smallpdf, ILovePDF, or PDF24. They offer simple drag-and-drop compression. Just upload your file, choose ‘Compress’ (often with a ‘Recommended’ option), and download the result. Be cautious with sensitive documents—use offline tools for privacy. These compressors automatically handle images and objects, but they may reduce quality more than manual tweaks.

Common Pitfalls
- Compressing too much: Over-compression makes images pixelated or text blurry. Always preview before finalizing.
- Breaking interactive elements: Form fields, hyperlinks, and digital signatures can break after compression. Test all functionality.
- Not saving a backup: You can’t undo a compression. Always keep the original file intact until you’re fully satisfied.
Where to Next
Congratulations! You’ve turned a giant PDF into a lean, mean document. If you ran into error messages or the file still misbehaves, check our related guides. For instance, learn how to check PDF corruption if the file acts strange, or restore a damaged PDF if compression didn’t fix everything. Smaller file, bigger possibilities—happy sharing!