If you’ve ever optimized a PDF to shrink file size or remove unnecessary data, you know it can go wrong. Maybe the compression caused missing fonts, blurry images, or the file just won’t open. This guide is for anyone who has a PDF that broke after optimization—whether it’s a document you compressed yourself or one you received that was already optimized. By the end, you’ll have a fully functional, readable PDF again.
We’ll walk through several methods: using Adobe Acrobat’s built-in repair, free online tools, and even manual fixes. You don’t need to be a tech wizard—just follow along and you’ll rescue your file.
What You’ll Need
- Your optimized PDF file
- Adobe Acrobat Pro (optional, free trial available)
- Internet connection (for online tools)
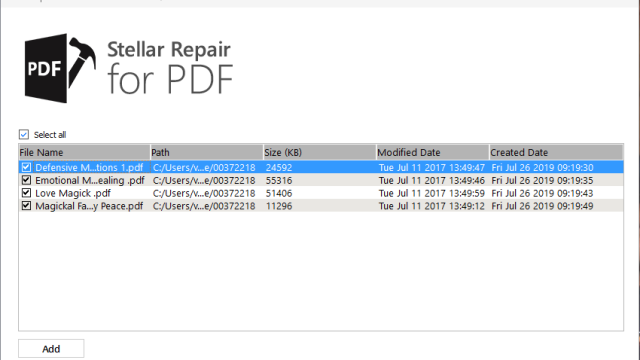
- PDF repair tool like PDFelement or Sejda (optional)
- A backup of the original PDF (if available)
Step 1: Identify the Problem
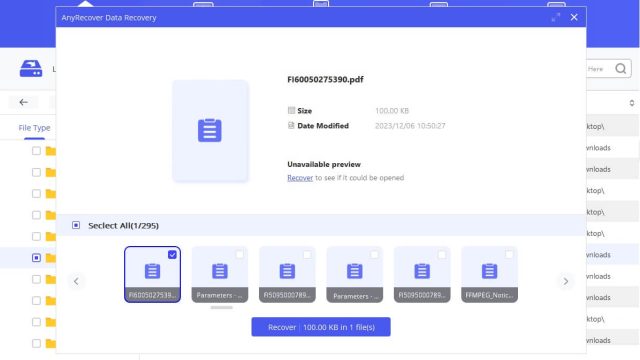
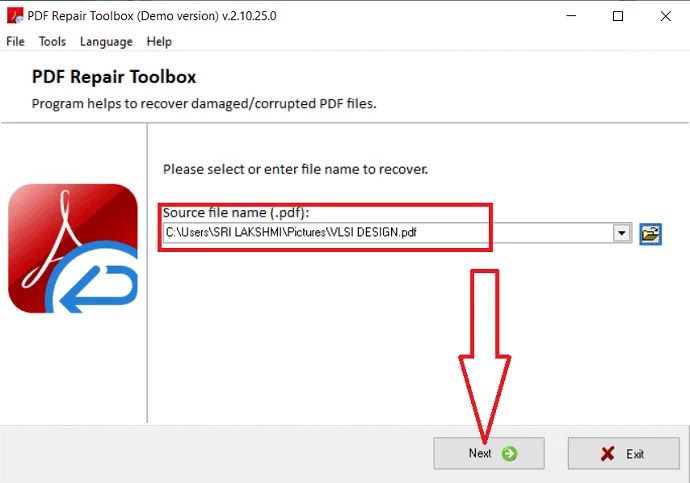
Before you start, figure out exactly what’s wrong. Is the PDF completely unopenable? Are fonts rendering as boxes? Are images missing or pixelated? Knowing the issue helps pick the right fix. If the file won’t open at all, you may need to recover PDF file using a dedicated tool.
Step 2: Repair with Adobe Acrobat Pro
Open your PDF in Adobe Acrobat Pro. Go to File > Properties and check the document’s status. Try File > Save As > Optimized PDF—this may fix minor corruption. If that fails, use the built-in repair: File > Export To > Image > JPEG, then re-create the PDF. If you don’t have Acrobat, you can repair PDF without Acrobat using free alternatives like Sejda or PDF Candy.
Step 3: Use an Online PDF Repair Tool
For quick fixes, try an online repair service. Upload your PDF to sites like ilovepdf.com or pdf2go.com. They often repair minor corruption, but be cautious with sensitive data. If the online tool fails, you may need to fix incomplete PDF using a dedicated offline tool.
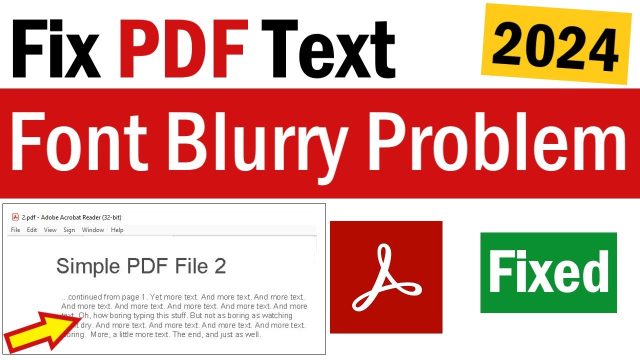
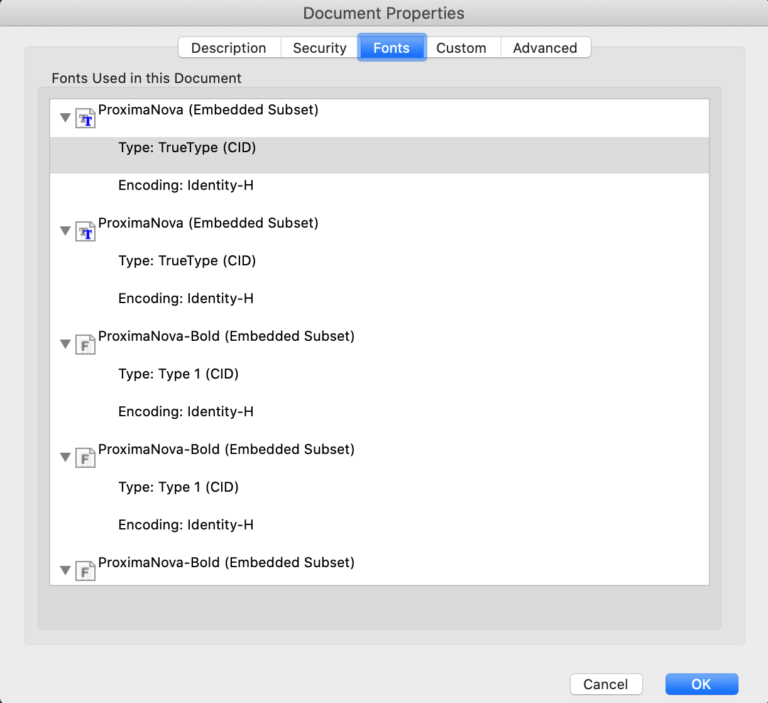
Step 4: Fix Missing Fonts and Images
Optimization often strips out fonts or compresses images too aggressively. To repair PDF fonts, open the file in Acrobat and go to Edit > Preferences > Page Display. Uncheck ‘Use local fonts’ and make sure your system has the fonts installed. For images, try exporting as an image and reinserting them at higher resolution.
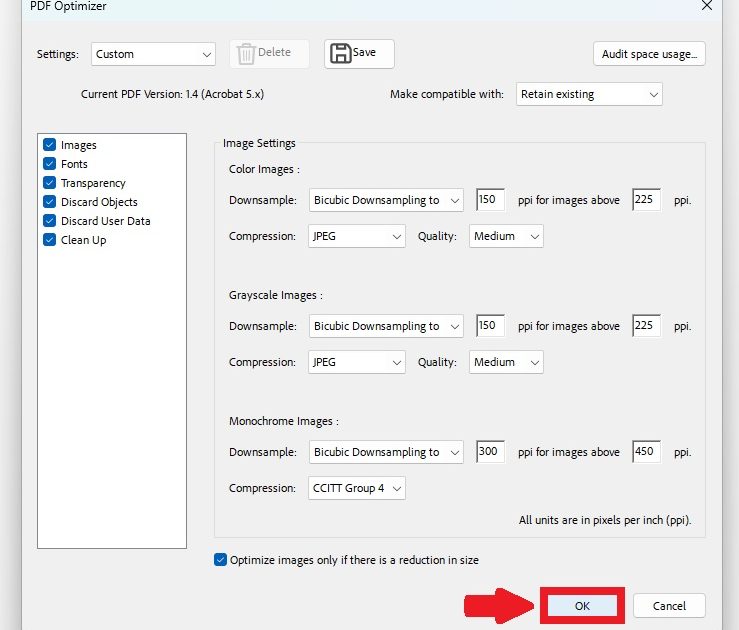
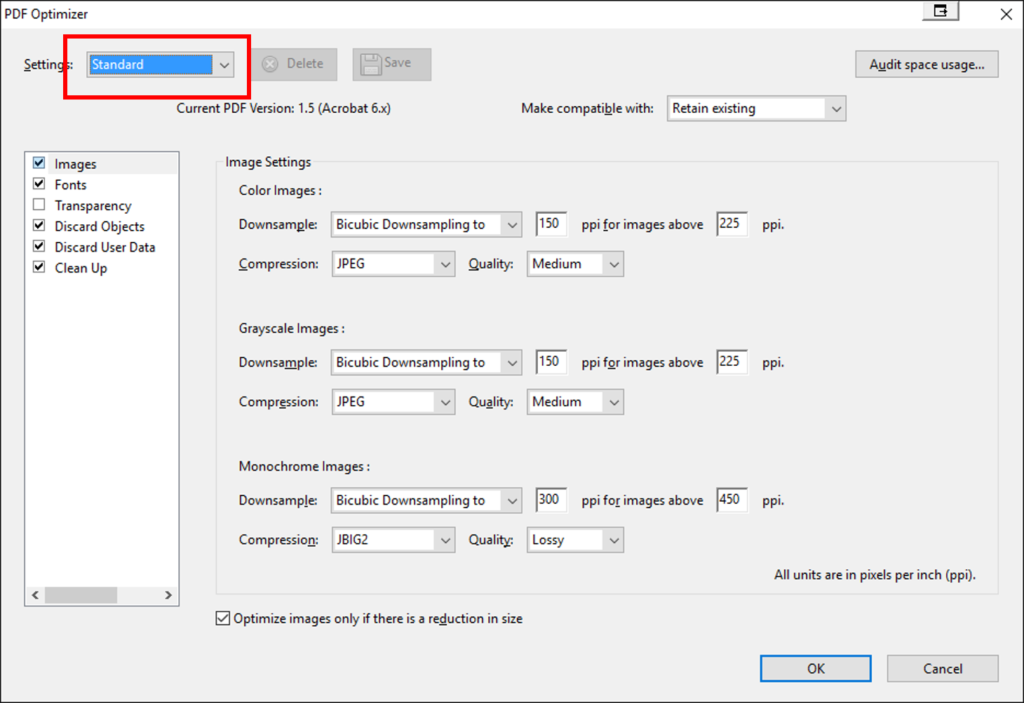
Step 5: Re-optimize Carefully
After repair, you may need to optimize again. In Acrobat, use File > Save As Other > Optimized PDF. Uncheck aggressive options like ‘Discard user data’ unless necessary. Always keep a backup—if you encounter issues again, you can repair corrupted PDF from the backup.
Common Pitfalls
- Over-optimization causing further damage: Don’t overshoot compression settings the second time.
- Using unreliable online tools that upload your data: Stick to trusted services or offline software.
- Ignoring backup: Always work on a copy, not the original.
Where to Next
Now that your PDF is repaired, check out our guides on fixing specific issues like repair PDF fonts if text still looks off, or how to recover PDF file that’s still acting up. For more complex problems, learn how to fix incomplete PDF or repair corrupted PDF with advanced methods.