Ever opened a PDF only to see garbage text, missing pages, or a error message about a ‘cross-reference table’? That’s one of the most common PDF corruption issues — and it’s fixable. This guide is for anyone who’s tried to open a PDF and got nothing but a headache. By the end, you’ll have a working PDF, even if you’ve never heard of a cross-reference table before.
We’ll cover three methods: using qpdf (the easiest), using PDFtk (handy for batch jobs), and a manual hex-edit approach for when nothing else works. I’ll walk you through each one, step by step. You don’t need to be a tech wizard — just follow along.
What You’ll Need
- Your corrupted PDF file (back it up first!)
- qpdf – free command-line tool (download from sourceforge.net)
- PDFtk – optional, free tool (pdftk.com)
- A hex editor (like HxD for Windows or Hex Fiend for Mac)
- Basic comfort with terminal/command prompt
Step 1: Try qpdf — The Quick Fix
qpdf is the Swiss Army knife for PDF repair. It rebuilds the cross-reference table from scratch. Open your terminal (Command Prompt on Windows, Terminal on Mac/Linux) and navigate to the folder with your PDF. Run this command:
qpdf –linearize corrupted.pdf fixed.pdf
qpdf manual
The –linearize flag forces a full rewrite of the cross-reference table. If it works, you’ll have a shiny new fixed.pdf. If you get errors like ‘unexpected EOF’, try –replace-input instead (be careful — it overwrites your file). For more details, check out our full guide on qpdf repair pdf.
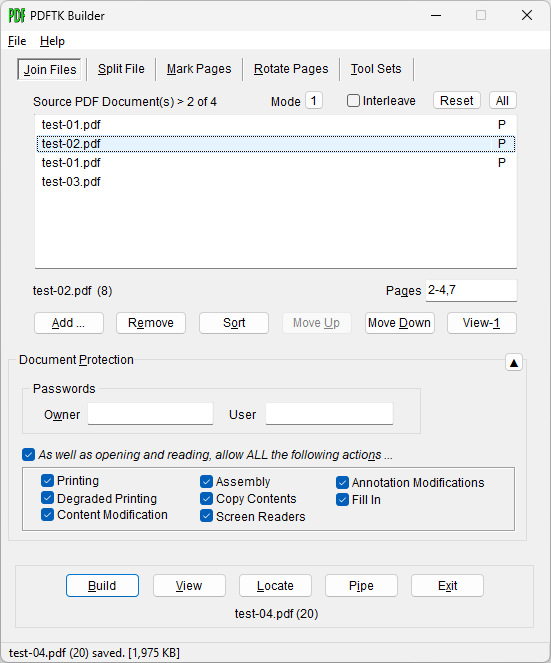
Step 2: Use PDFtk (If qpdf Fails)
PDFtk is another great tool. It’s not as thorough as qpdf but often does the trick. Download and install PDFtk, then run:
pdftk corrupted.pdf output fixed.pdf
PDFtk help
This tells PDFtk to read the input and write a new file, effectively rebuilding the cross-reference table. If you get an error about ‘unable to find xref’, then your file might be more deeply corrupted. That’s okay — move to Step 3.
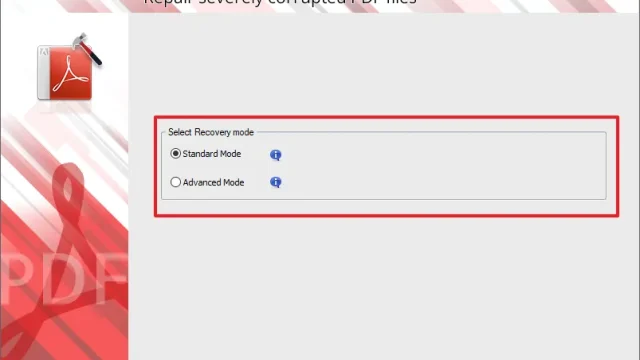
Step 3: Manual Hex Edit (Last Resort)
When automatic tools fail, you can manually fix the cross-reference table with a hex editor. This sounds scary, but it’s just a few patterns. Open your PDF in a hex editor. Scroll to the very end of the file. You should see ‘%%EOF’ — that’s the end marker. Above it, look for ‘startxref’ followed by a number. That number is the byte offset where the cross-reference table begins. If it’s wrong, the PDF is broken. To fix it: find the actual ‘xref’ keyword in the file (usually near the end), note its byte position, and overwrite the number after ‘startxref’ with that position.
For example, if you see ‘startxref 12345’ and the real ‘xref’ is at byte 50000, change 12345 to 50000. Save and try opening. This technique is covered more in our post on pdf syntax repair. Don’t forget to check the byte offset — most hex editors show the offset in the status bar.
Step 4: Validate the Repair
After any repair, open the fixed PDF in a viewer and check pages, text, and images. If it still has issues, try running qpdf again with –check-linearization to see if the cross-reference table is now correct. You can also use Adobe’s preflight tool (if you have Acrobat Pro) to re-save as ‘Optimized PDF’. For more tips, see our pdf recovery tips article.
Common Pitfalls
- **Not backing up** – Always keep the original. One wrong hex edit and the file is toast. Make a copy first.
- **Using the wrong offset** – In the manual method, if you misread the byte offset, you’ll make things worse. Double-check by searching for ‘xref’ and counting bytes carefully.
- **Forgetting the ‘%%EOF’ marker** – If you delete or shift the end-of-file marker, no PDF reader will open it. Make sure it’s the very last thing.
I accidentally overwrote the %%EOF — but a backup saved me. Always backup.
Anonymous reader
Where to Next
You fixed the cross-reference table — nice work. If your PDF still has issues like missing images or garbled text, check out our guides on fix pdf document and repair damaged pdf. For other common corruption patterns, the pdf recovery tips article covers everything from font errors to upload problems. Happy reading!