So you’ve got a PDF that’s either corrupted or plastered with an ugly watermark, and you want it gone. Maybe it’s a scanned document from a free trial, or maybe the file got messed up during download. Either way, you’re in the right place. This guide is for anyone who needs to repair a damaged PDF and strip out watermarks without spending a dime. By the end, you’ll have a clean, readable PDF that looks like it was never tampered with.
I’ve been through this myself—frustrating, right? But trust me, you don’t need expensive software or a degree in computer science. With a few free tools and a bit of patience, you can fix almost any PDF issue. Let’s dive in.
What You’ll Need
- Your watermarked or corrupted PDF file
- A computer with internet access
- Optional: Adobe Acrobat Reader DC (free) or Adobe Acrobat Pro (trial)
- A web browser (Chrome, Firefox, Edge, etc.)
- Patience and a backup of the original file
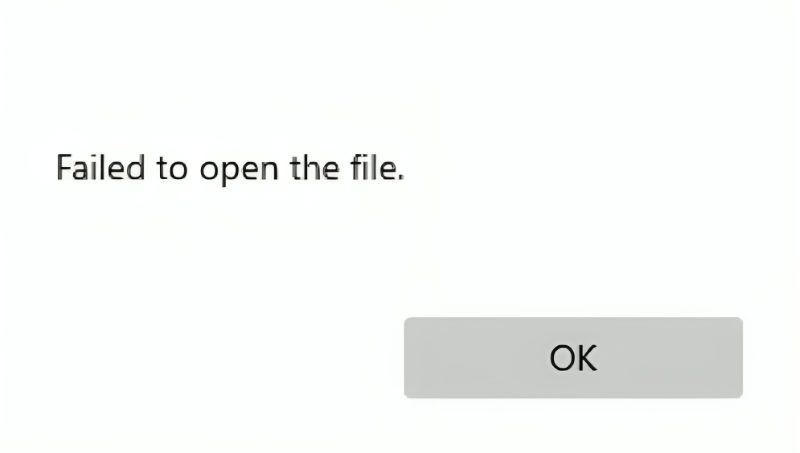
Step 1: Assess the Damage
First, open your PDF in a reliable viewer like Adobe Acrobat Reader or even your web browser. Check if the file is truly corrupted (garbled text, missing pages, error messages) or just watermarked. If it’s a watermark, the underlying content should be readable. If it’s corrupted, you’ll need to repair the file first. Sometimes a watermark is actually part of the image, so you’ll need to handle that separately.
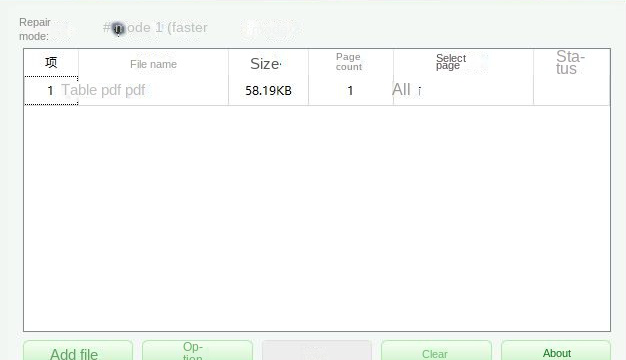
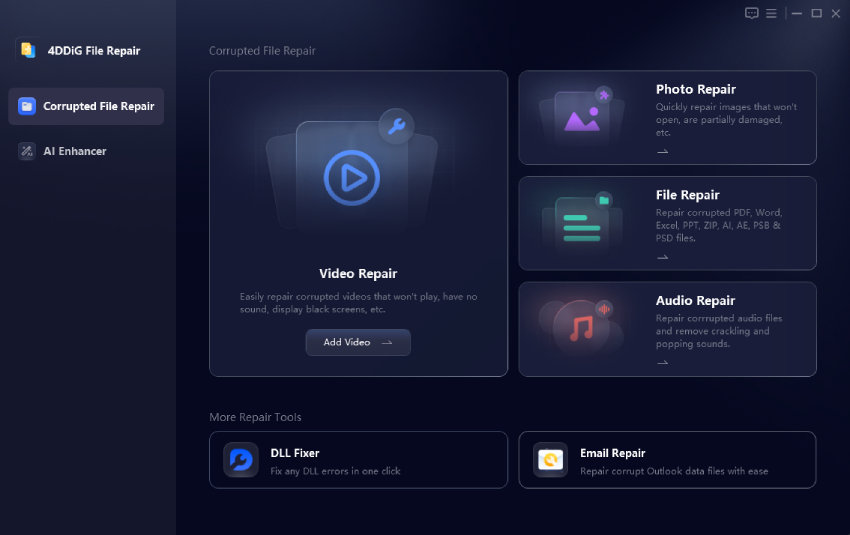
Step 2: Repair the PDF Using an Online Tool
If your PDF is corrupted, use a free online repair service. I recommend tools like iLovePDF or Smallpdf—they’re free for basic repairs. Upload your file, let the tool do its magic, and download the fixed version. This works for most common corruption issues. For a more detailed comparison, check out our guide on how to repair a PDF online for free.
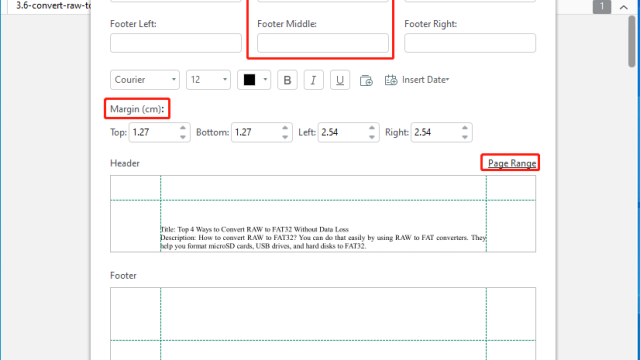
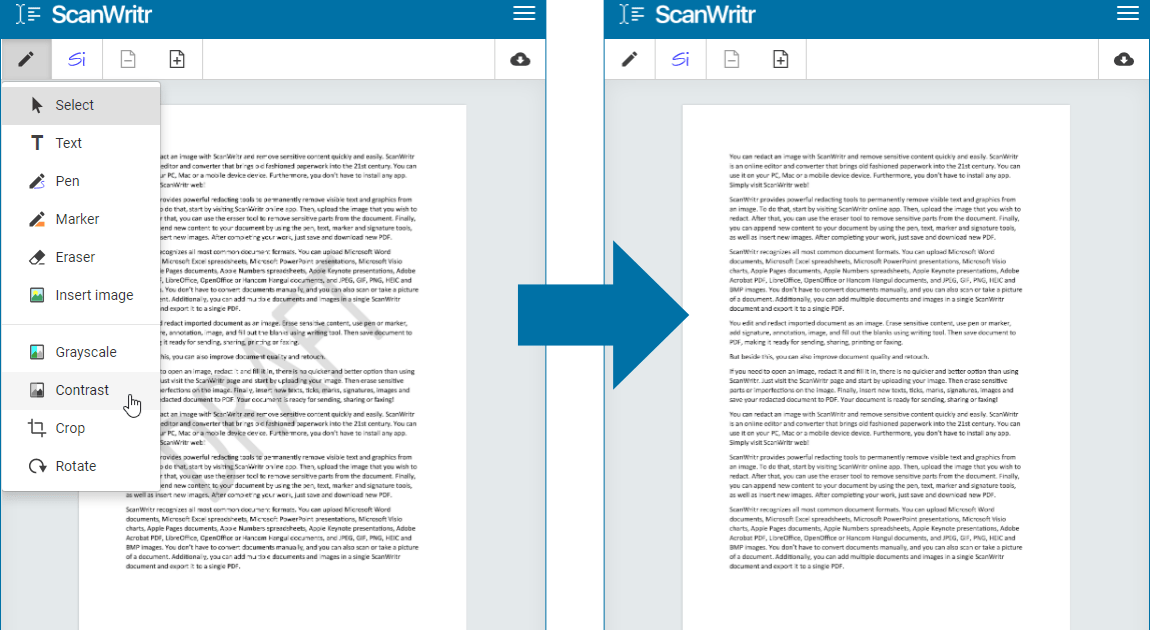
Step 3: Remove the Watermark
Once the PDF is repaired (or if it was never corrupted), it’s time to zap that watermark. There are a few ways to do this. If you have Adobe Acrobat Pro, you can use the Edit PDF tool to click on the watermark and delete it. Alternatively, use a free tool like PDF Candy or Sejda. For text watermarks, simply select and delete. For image watermarks, you might need to use the ‘Edit PDF’ feature and cover it with a white box. See our how to repair a PDF in Adobe for more tips.
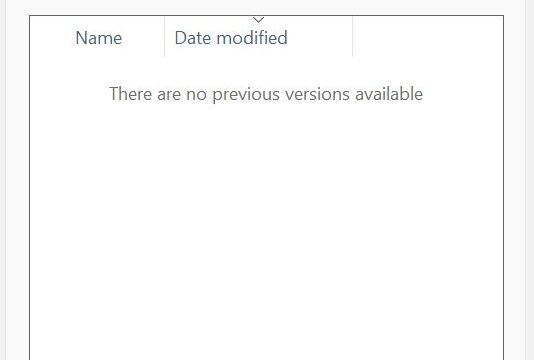
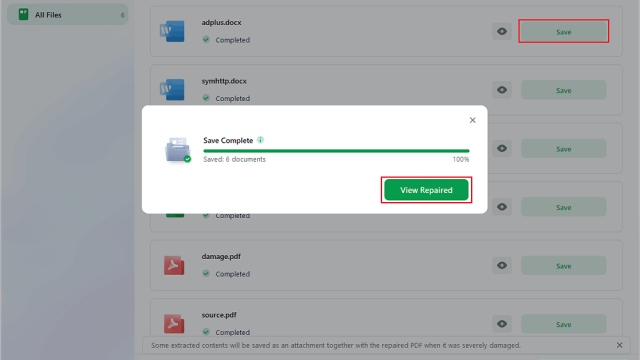
Step 4: Save and Verify Your Clean PDF
After removing the watermark, save your document as a new file (use ‘Save As’ to avoid overwriting the original). Open it again to make sure everything looks good: no missing pages, no artifacts, and definitely no watermark. If you notice issues like strange formatting, you might need to fix compressed PDF or repair PDF generated from Word depending on the source.
Common Pitfalls
- Using untrusted online tools: Some sites may steal your data. Stick to well-known services or run them in a sandbox.
- Forgetting to backup: Always keep the original file. If something goes wrong, you can start over.
- Ignoring OCR: If your PDF is scanned and watermarked, you may need OCR software to edit text. Our recover medical PDF guide covers this.
Where to Next
Congratulations—you’ve got a watermark-free, working PDF! If you run into other issues like missing pages or font problems, check out our other tutorials. We have guides for almost every PDF headache. Keep your documents clean and your workflow smooth. Happy repairing!