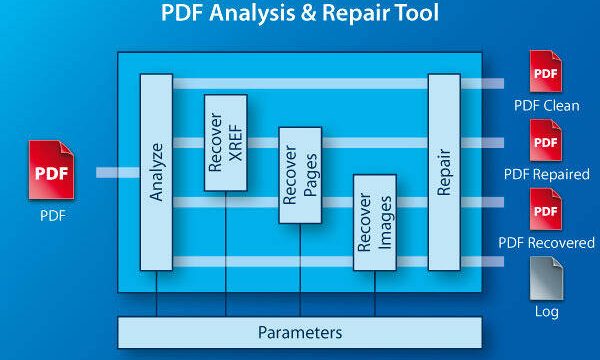
So you scanned a bunch of documents into PDFs, but when you open them, the text looks like a puzzle, pages are missing, or the file just won’t load. Don’t panic — this is super common with scanner-created PDFs, and fixing them is way easier than you think. In this guide, we’ll walk you through practical steps to repair those wonky scanned PDFs, whether you need to fix garbled OCR, rebuild a corrupted structure, or just clean up the file size. By the end, you’ll have a crisp, searchable document that works everywhere.
This tutorial is for anyone who deals with scanned PDFs regularly: students archiving notes, office workers digitizing contracts, or hobbyists preserving old photos. You don’t need to be a tech wizard — just a bit of patience and the right tools. We’ll cover both free and paid options, so you can choose what fits your budget and needs.
What You’ll Need
- The problematic scanned PDF file
- A computer (Windows or Mac)
- Adobe Acrobat Pro (trial works) OR a free alternative like OCR.space or PDF24
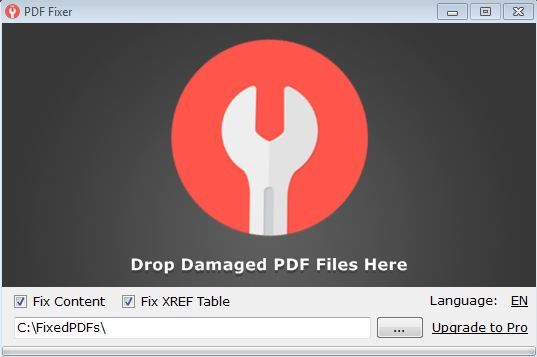
- Optional: a pdf fix tool for deep corruption repairs
- A backup of your original file (in case something goes wrong)
Step 1: Assess the Damage
Before you start fixing, figure out what’s wrong. Open the PDF in a viewer like Adobe Reader. Is it completely blank? Does the text look like nonsense (e.g., random symbols for letters)? Or is the file just a giant image with no selectable text? If you can’t even open the file, you might need to check the structure first — see our guide on how to open damaged pdf for initial recovery steps.
Common scanner-created PDF issues include: (1) The file is a series of images with no OCR layer — you see the document but can’t copy text. (2) The OCR engine messed up and produced gibberish. (3) The PDF structure got corrupted during scanning or transfer. Knowing which issue you have will determine your next steps.
Step 2: Convert to Text Using OCR (If Text Is Missing or Garbled)
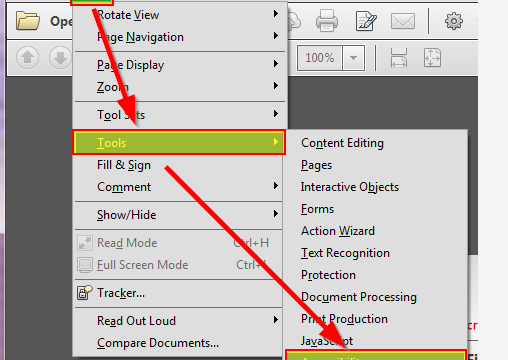
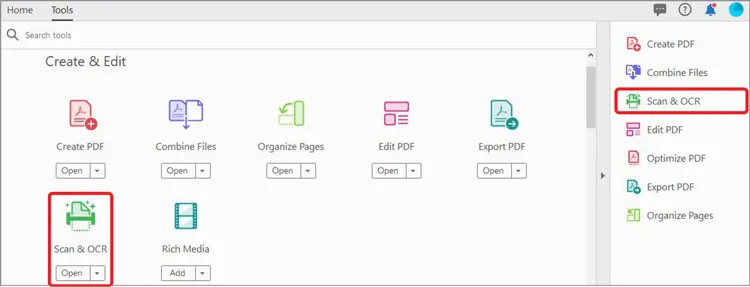
If your PDF looks like a photo and you can’t select any text, you need to run an OCR (optical character recognition) tool. Adobe Acrobat Pro has built-in OCR: open the PDF, go to Tools > Scan & OCR > Recognize Text > In This File. Choose your language and click Recognize. For free options, use OCR.space’s online service or PDF24’s desktop app. Upload the file and let it process. This will create a new PDF with selectable text.

If the OCR output is still full of errors (like “cIeant” instead of “clean”), you might need a cleaner source scan. But for now, let’s fix what we’ve got. After OCR, save the file and move to the next step.
Step 3: Clean Up OCR Errors
Even the best OCR makes mistakes. Use Adobe Acrobat’s “Find & Fix OCR Suspects” feature (under Tools > Scan & OCR). It highlights words the engine was unsure about. Review each suggestion and correct it manually. In free online pdf repair tools like PDF24, you can export the text and fix it in a word processor, then recombine. This step ensures your final document is accurate.
For batch corrections, try using a pdf fix tool that specializes in OCR cleanup. Some tools learn from your corrections and apply them to similar characters.
Step 4: Repair Corrupted Structure (If the PDF Won’t Open or Page Layout Is Broken)
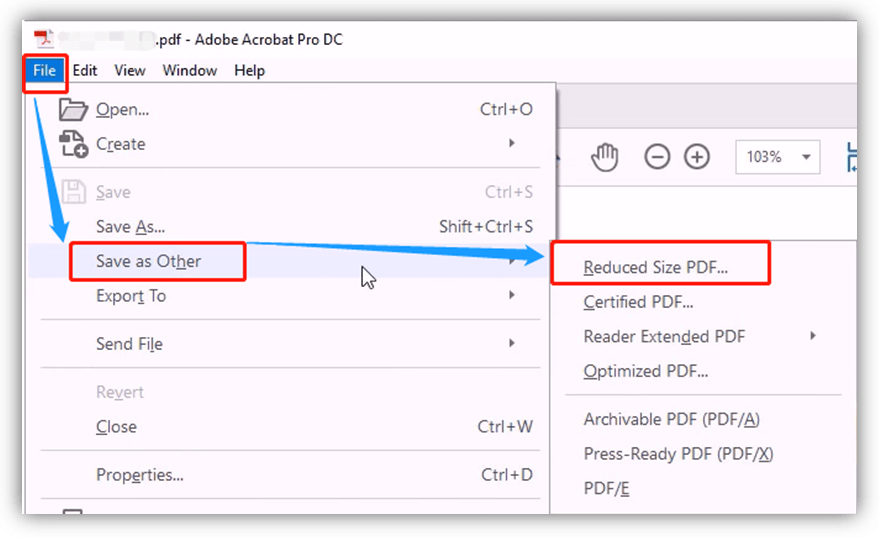
Sometimes the PDF’s internal structure gets messed up — cross-references break, page trees get corrupted. This can happen if the scanner software crashed mid-save or the file was transferred over a bad connection. For this, you need a dedicated repair tool. If you’re using Adobe Acrobat, try File > Save As Other > Optimized PDF (this rebuilds the structure). Alternatively, use a free tool like PDF Repair Toolbox or the online service “PDF Repair” from pdfrepairs.click (see our free online pdf repair guide).

If the file is severely damaged, you might need to follow our detailed guide on how to fix pdf structure. That article covers advanced techniques like editing the cross-reference table manually (but that’s for advanced users).
Step 5: Save as Optimized PDF
Once your PDF is readable and structurally sound, it’s time to reduce file size and compress images without losing quality. In Adobe Acrobat, go to File > Save As Other > Reduced Size PDF. For free, use PDF24’s compress tool. This step prevents the file from being too large to email or upload. Avoid overcompressing — set the quality to “High” if you need the text to stay sharp.
Save the optimized version with a new name (e.g., “scanned_doc_final.pdf”) to keep your original backup. Now test it: open in a browser, try selecting text, and check that all pages are there. If it works, you’re done!
Common Pitfalls
- **Low-quality source scan:** If the original scan was blurry or skewed, even the best OCR will produce errors. Rescan at 300 DPI or higher, and ensure the paper is flat and text is clear.
- **Overcompression:** Reducing file size too aggressively can destroy readability. Always preview after compression and keep a backup of the uncompressed version.
- **Skipping OCR proofreading:** Relying solely on automated OCR without checking suspects leads to embarrassing mistakes in important documents. Always review at least key words.
Where to Next?
Now that your scanned PDF is fixed, you might want to learn how to prevent future issues. Check out our guide on pdf repair for scanned documents for best practices. If you frequently work with PDFs, bookmark the free online pdf repair tools for quick fixes. And remember, a good pdf fix tool can save you hours of manual work.